|
|
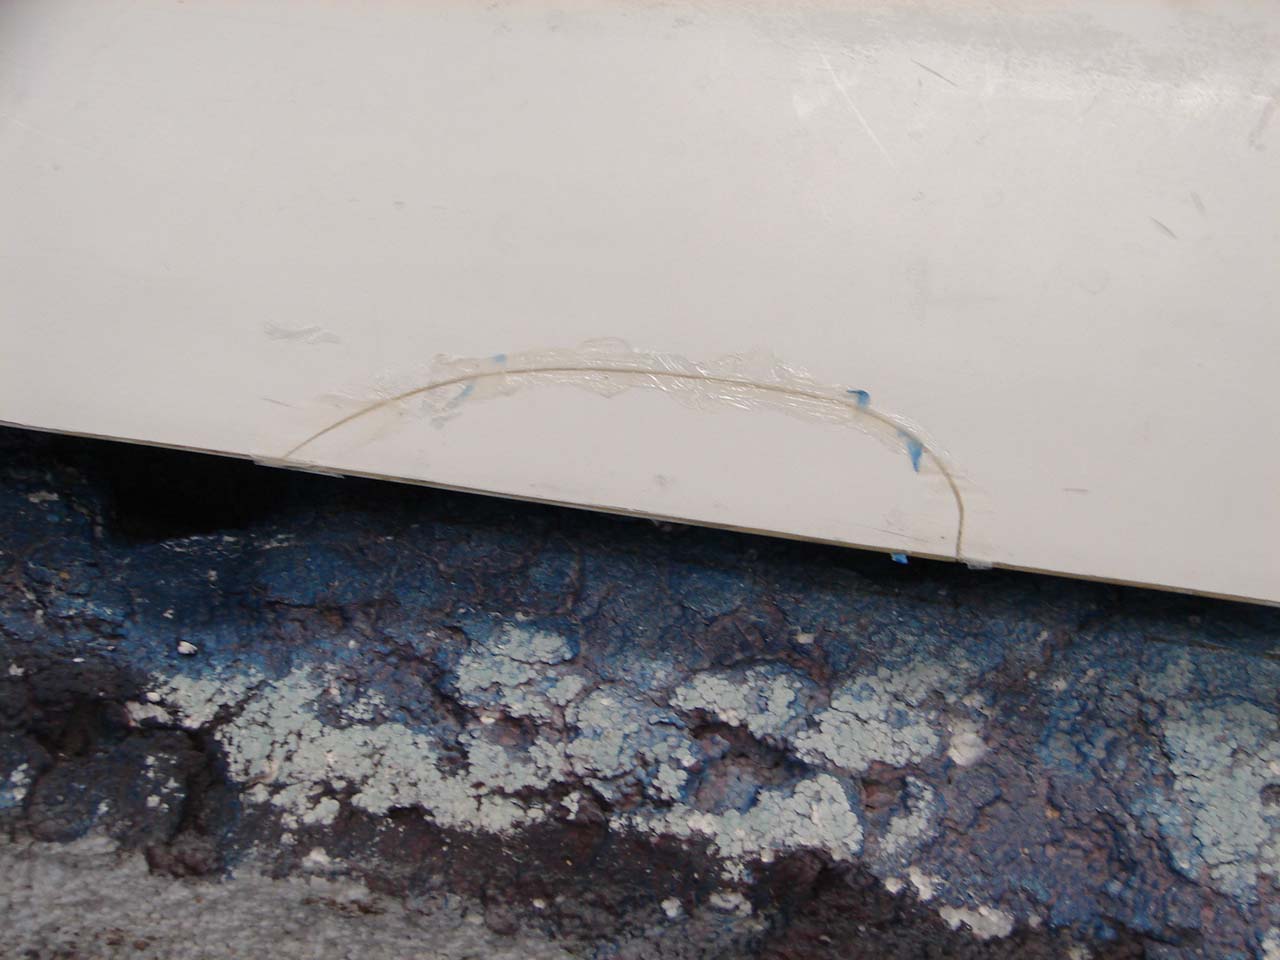
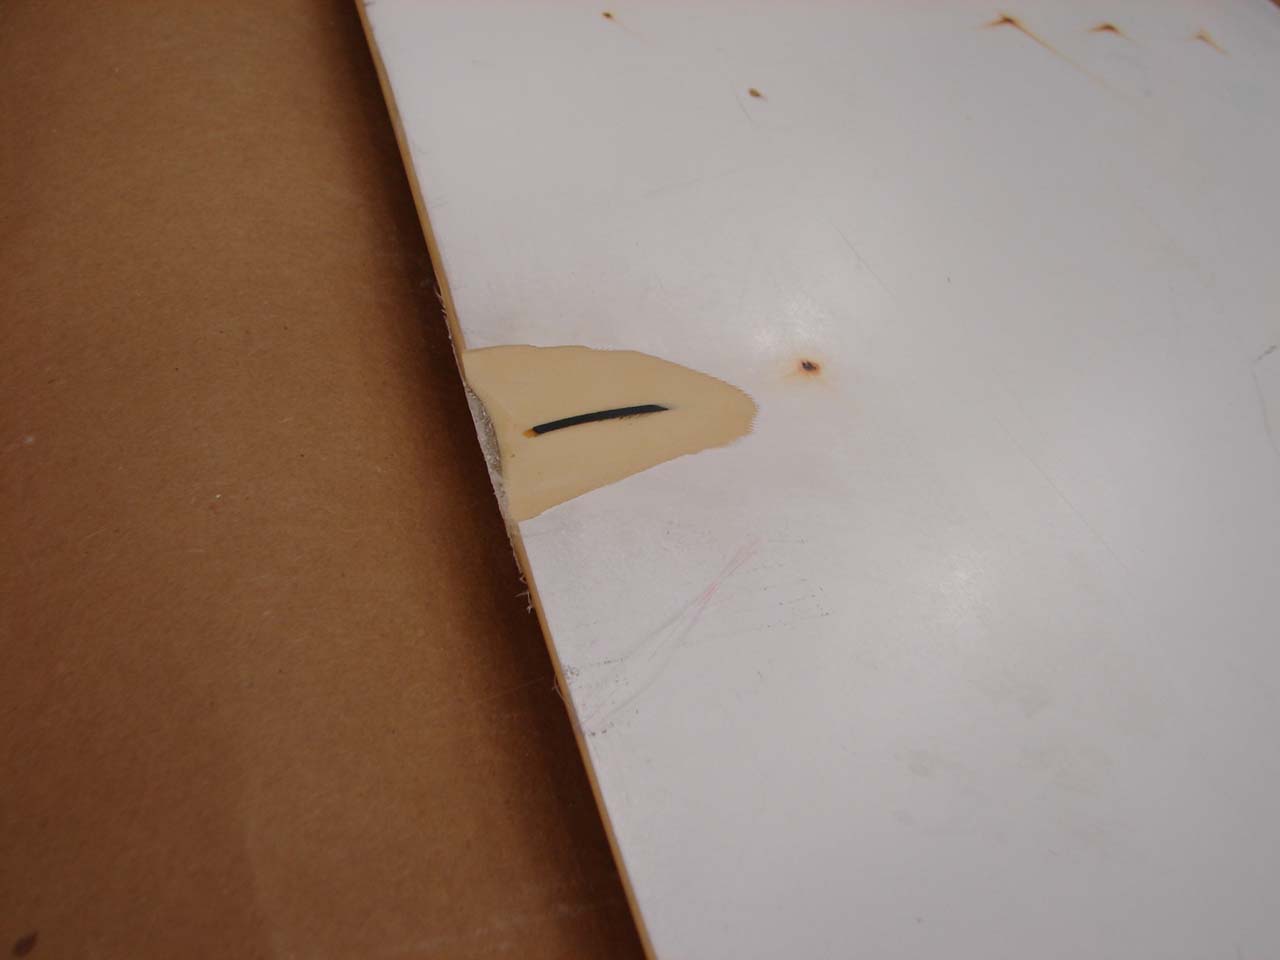
Chunk glued in place This repair might be strong enough already. The chunk is butt glued in place with West System epoxy. We did more anyway. |
|
|
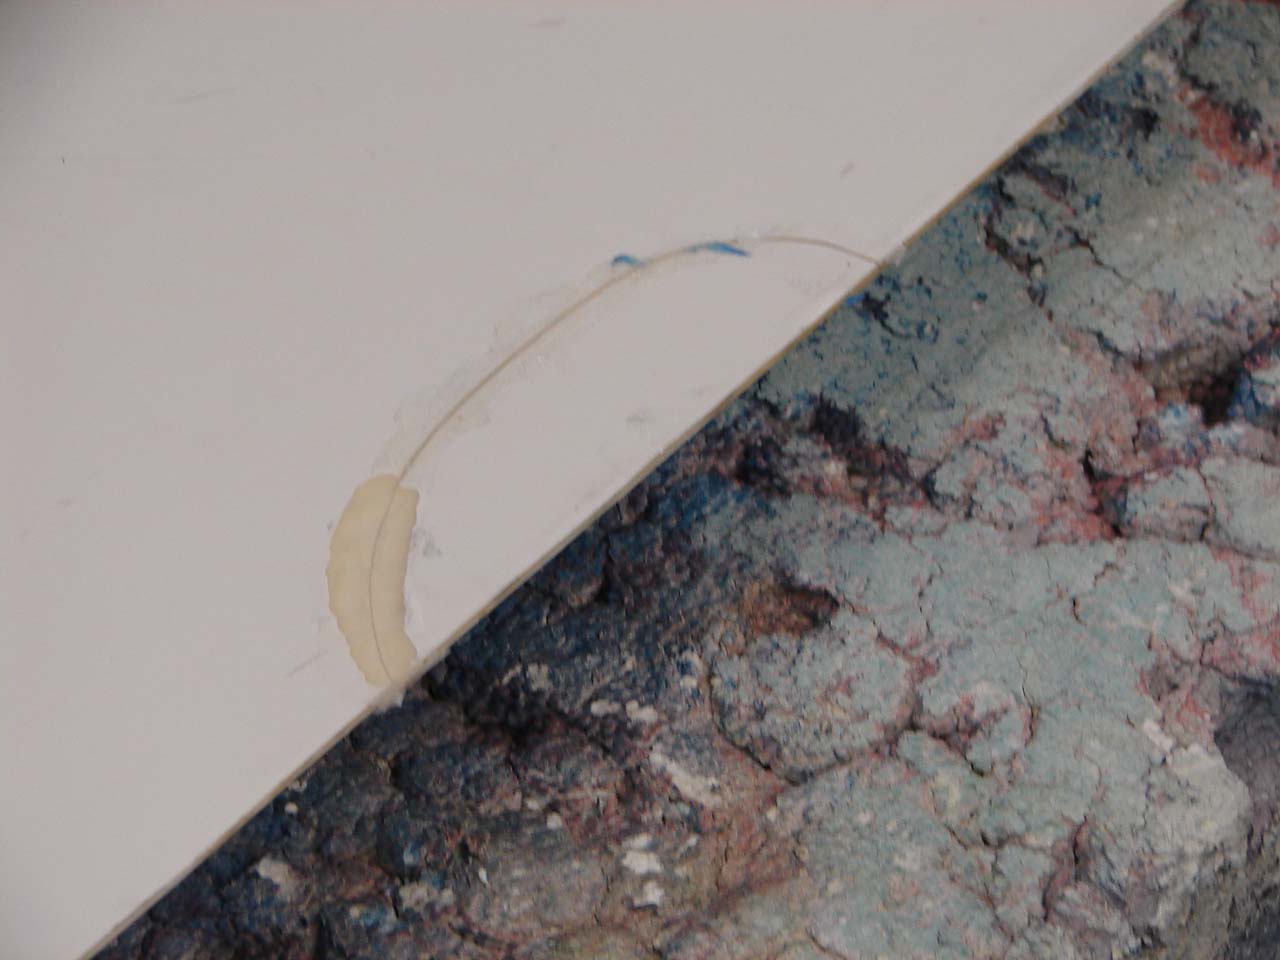
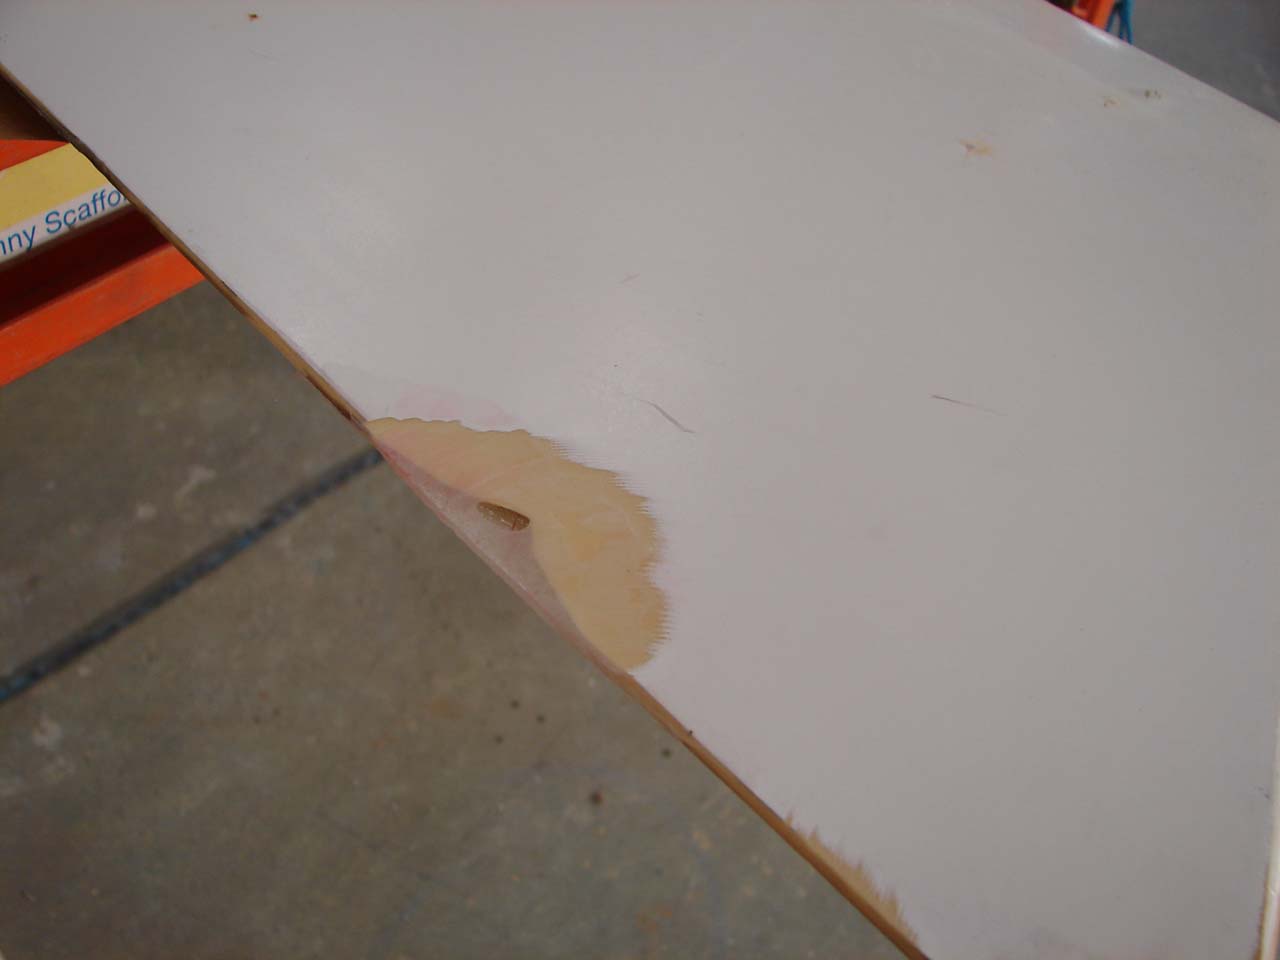
Ground out joint We decided the butt joint was insufficient and ground out an area to accept some glass and epoxy on each side of the blade |
|
|
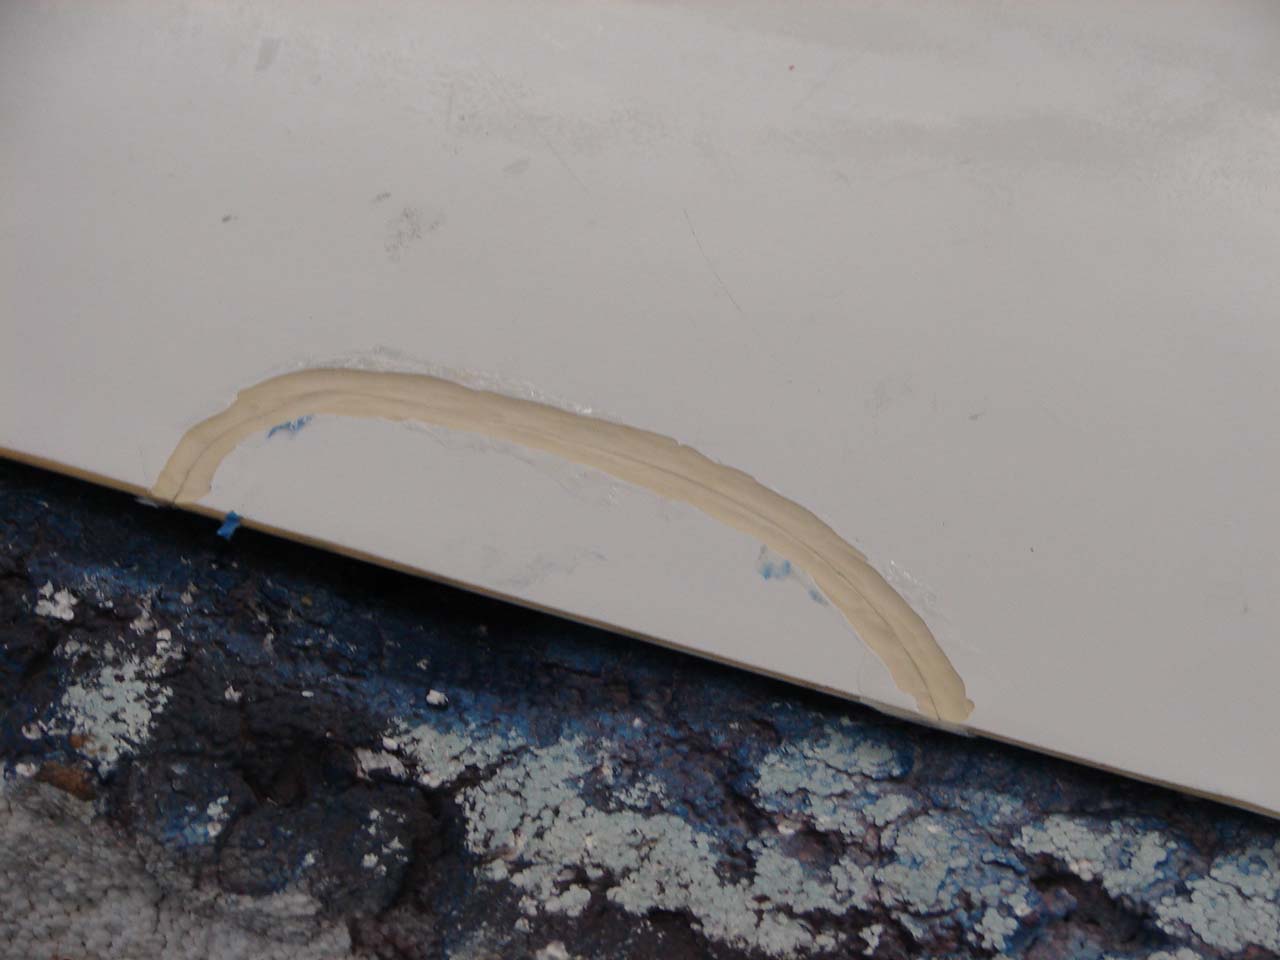
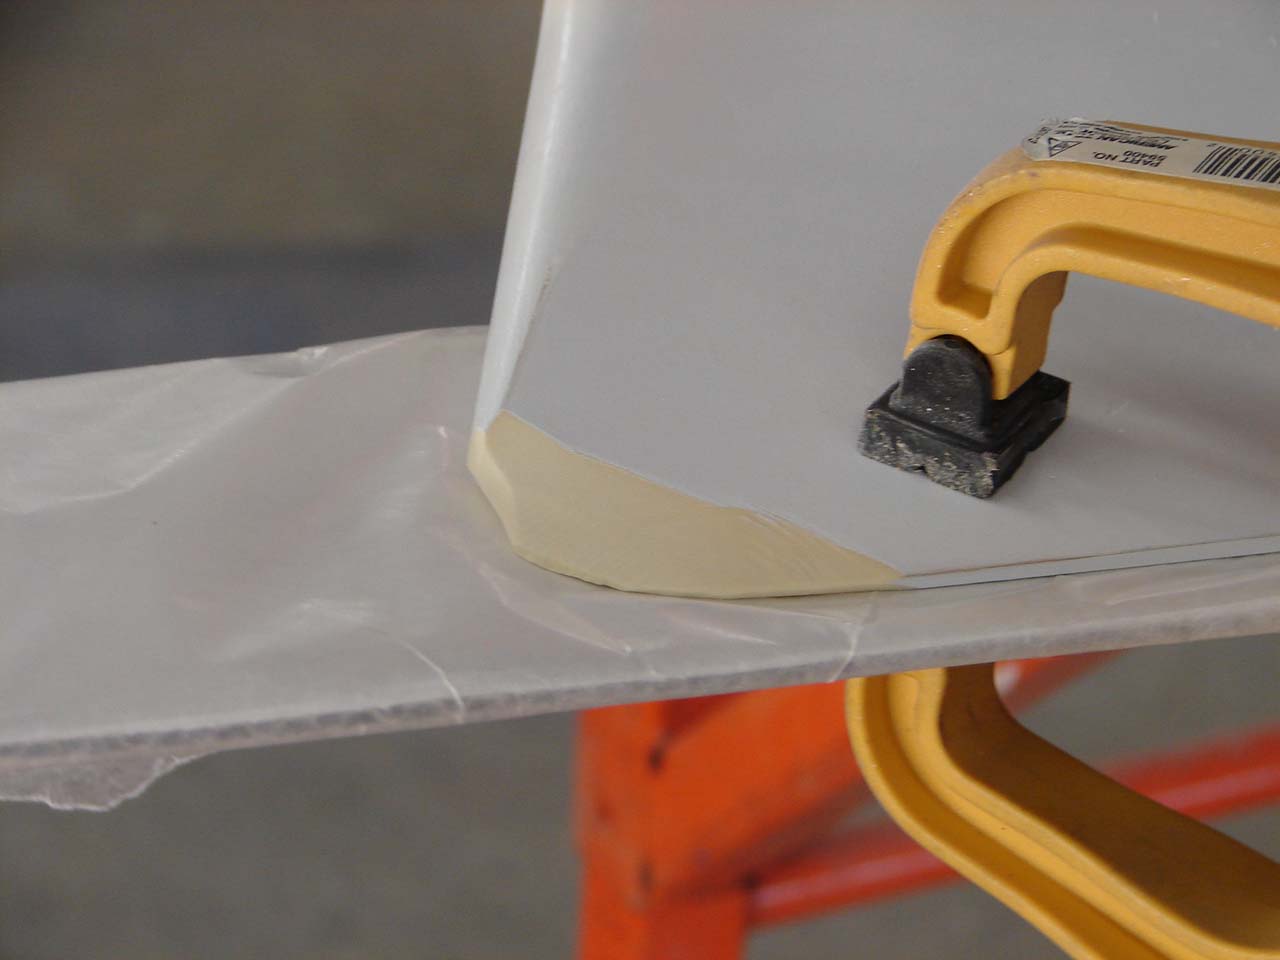
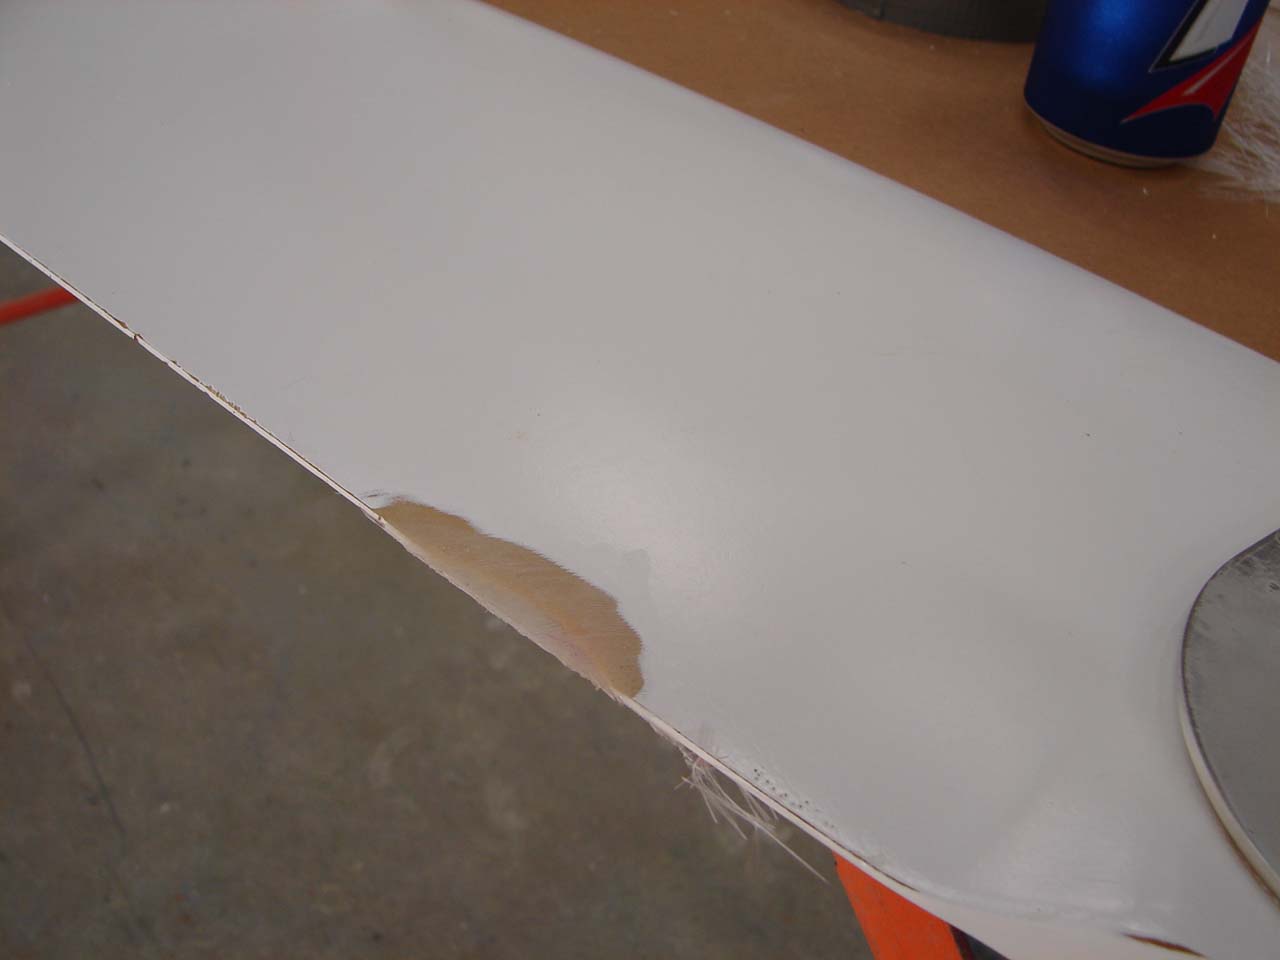
Ready for filler The groove is cut and ready for filler |

|
|
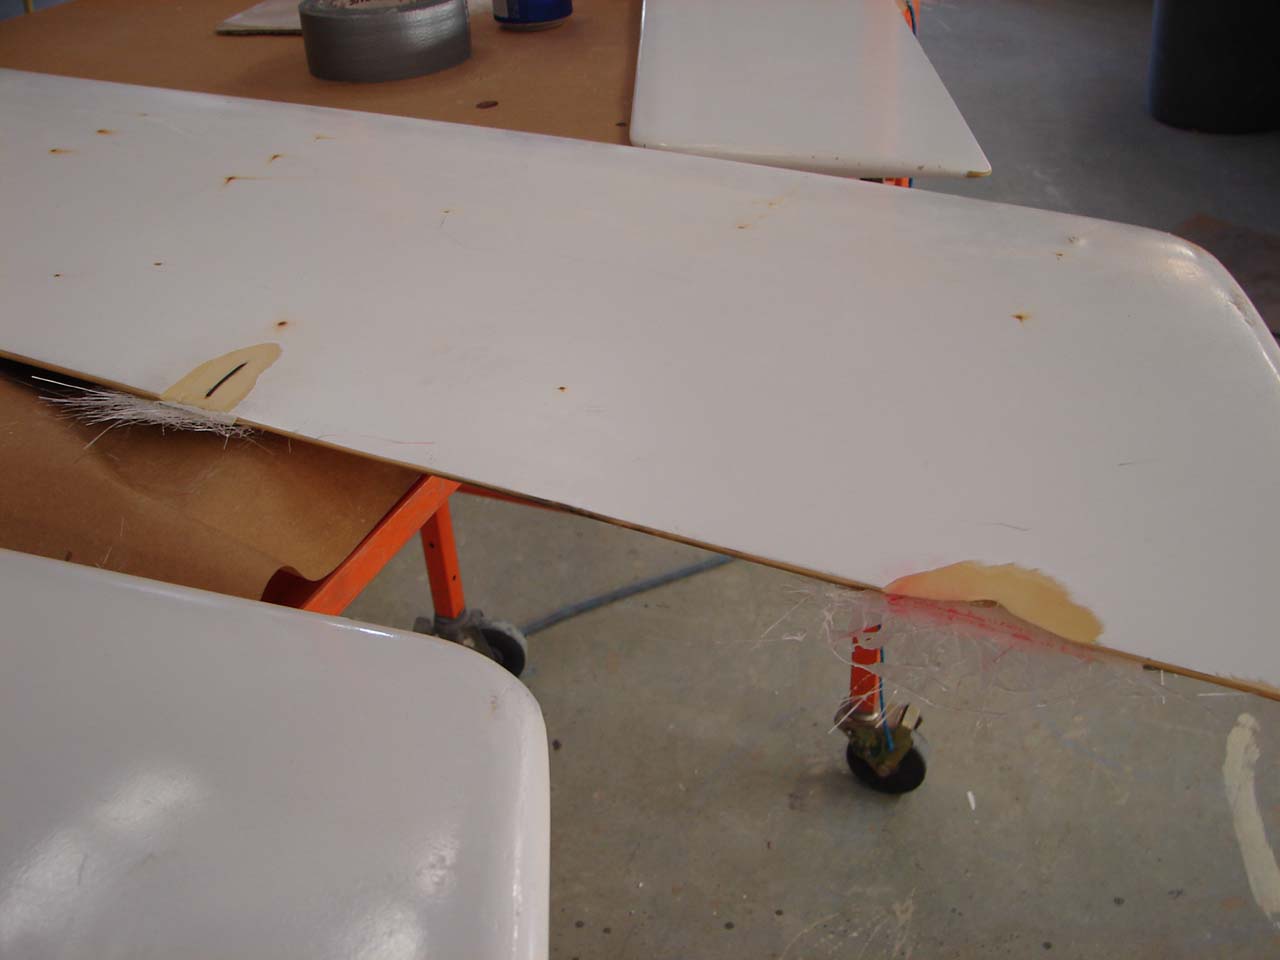
Another shot just showing it again |
|
|
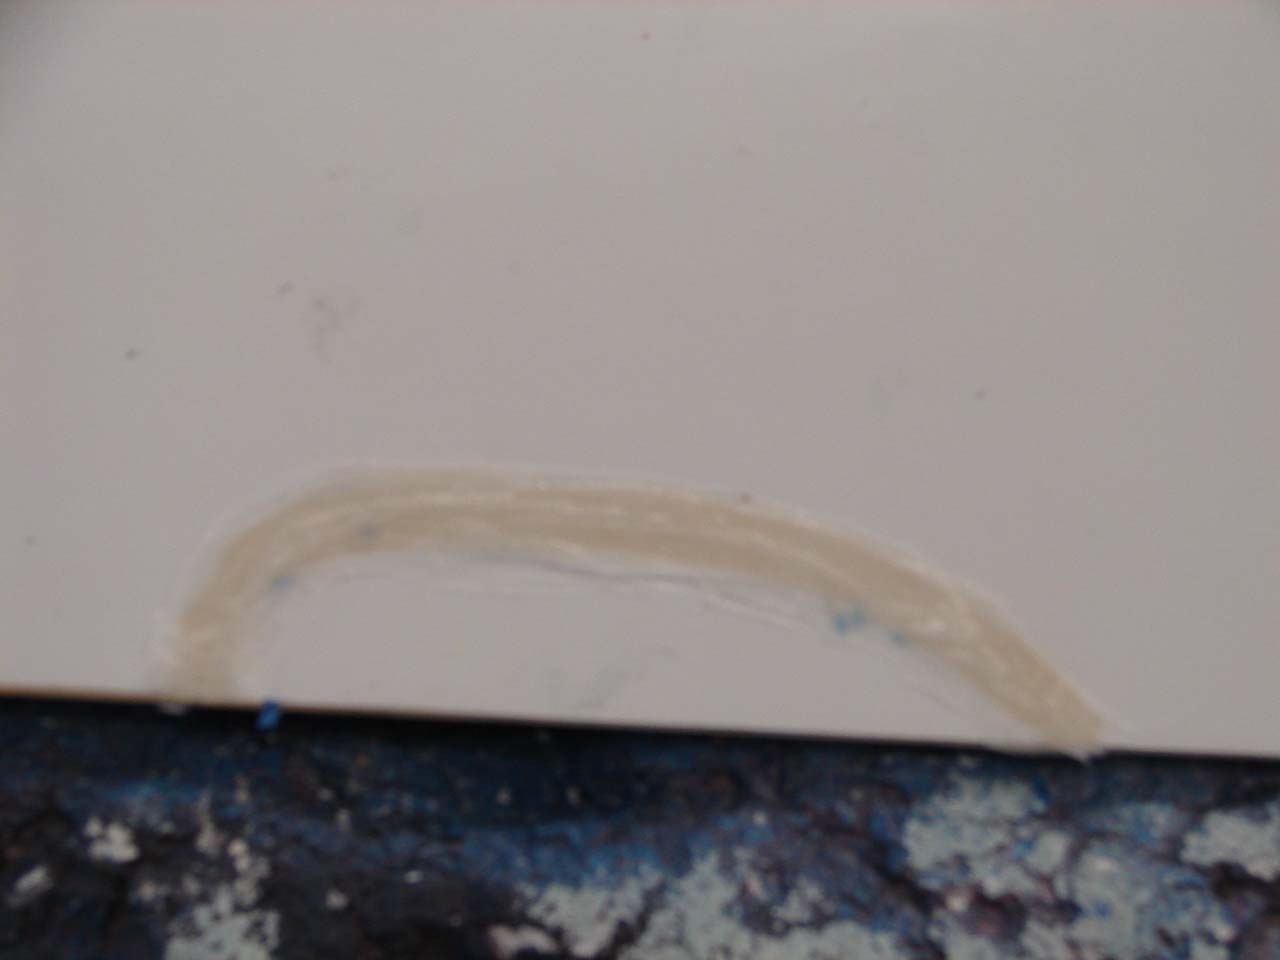
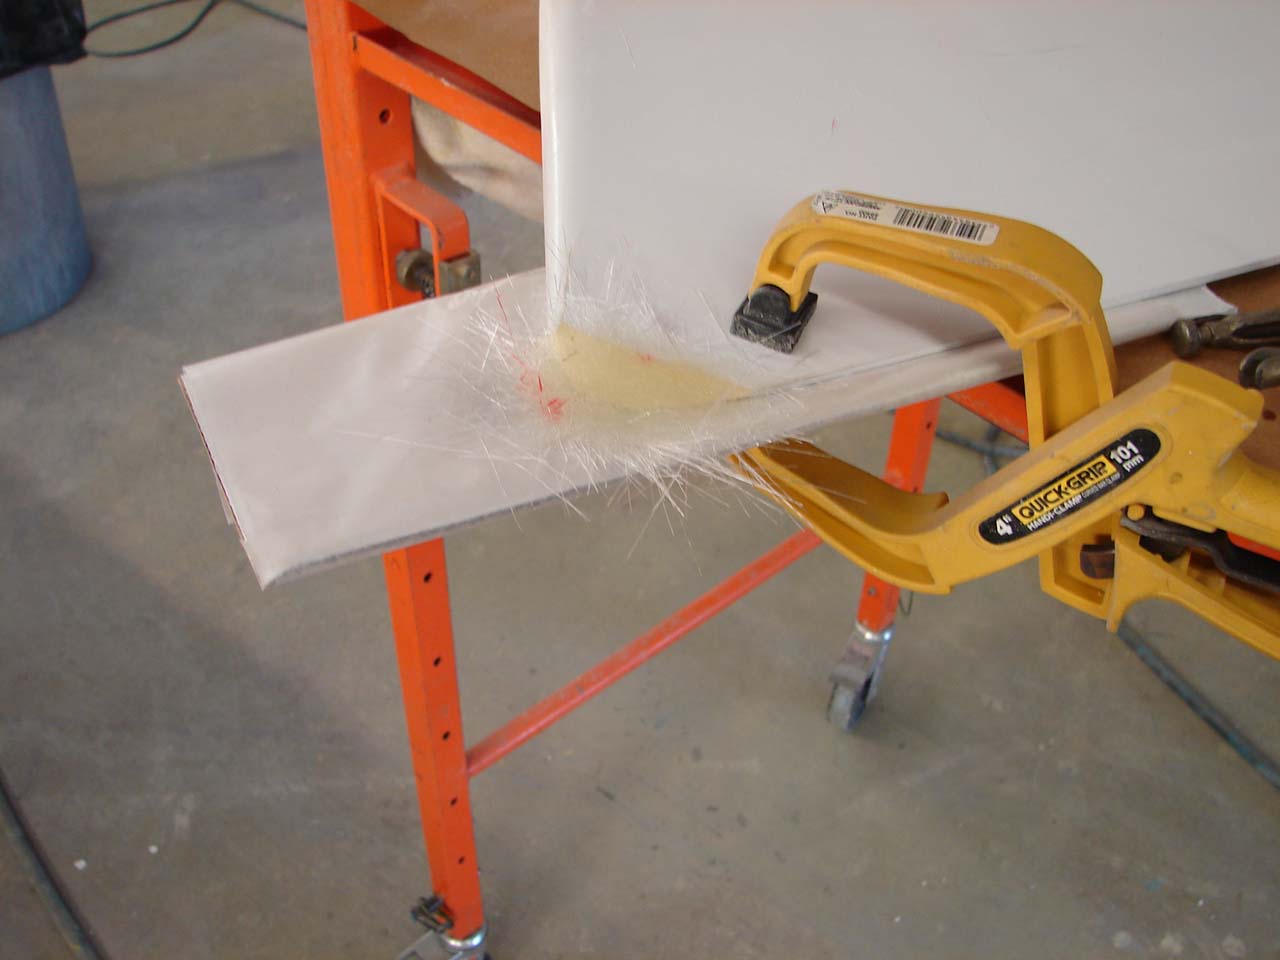
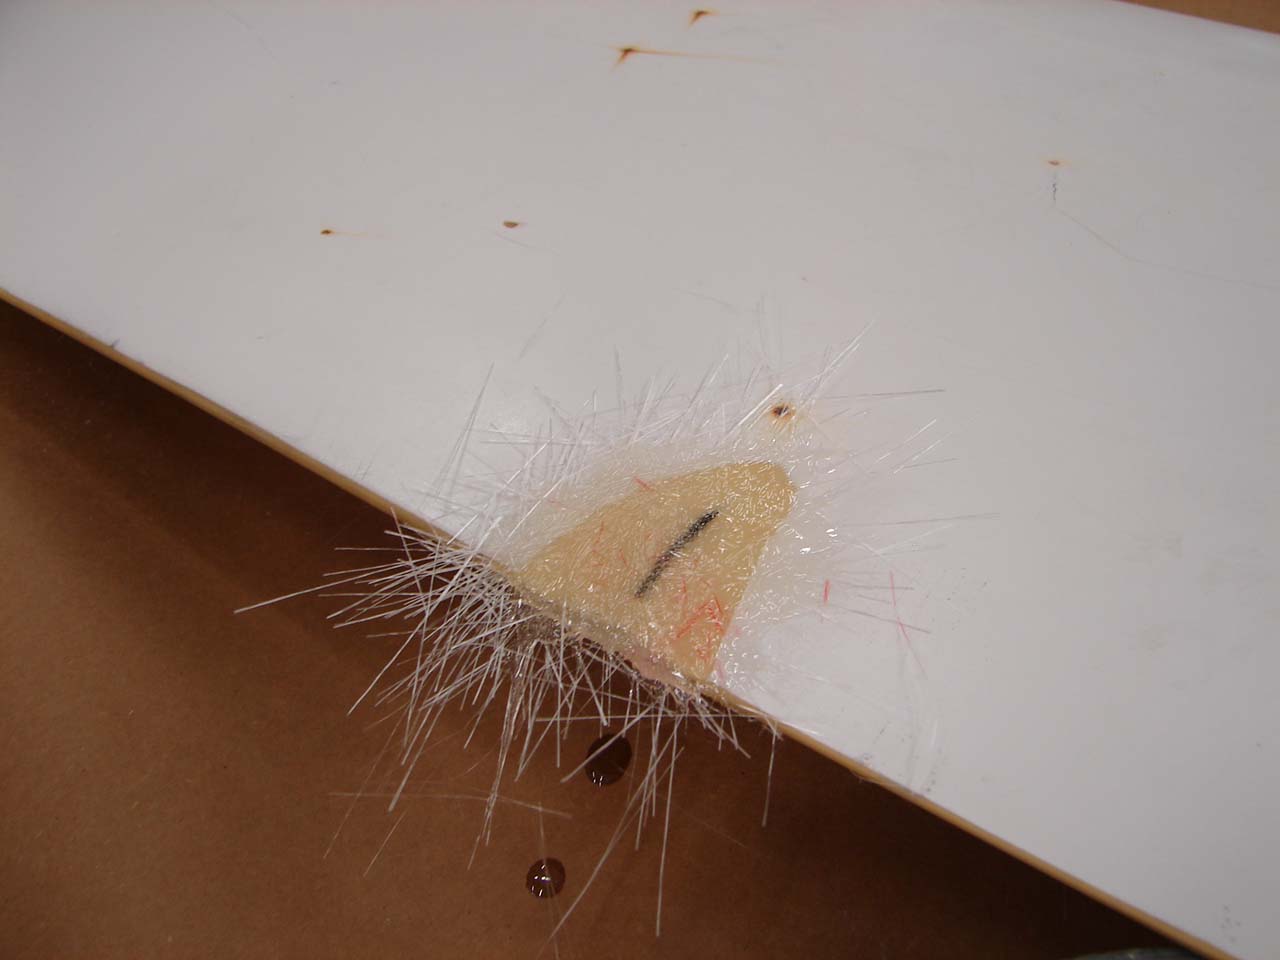
Glass and epoxy in groove I chopped up some glass with scizzors and floated the epoxy and chopped glass into the prepared groove |
|
|
Another view of the puttied joint just another look |
|
|
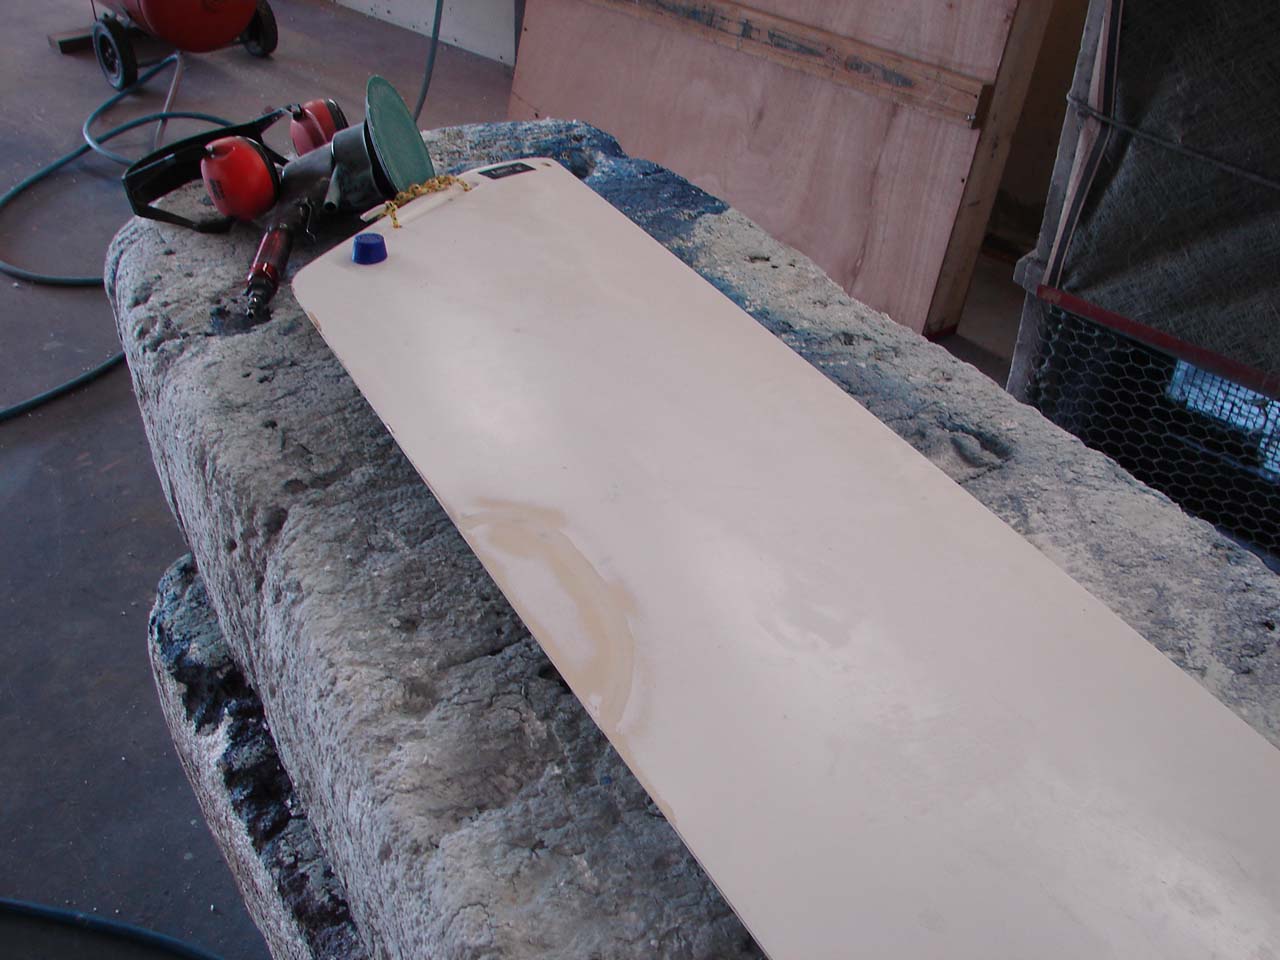
Sanded joint I probably sanded this with 60 grit on a dual action sander |
|
|
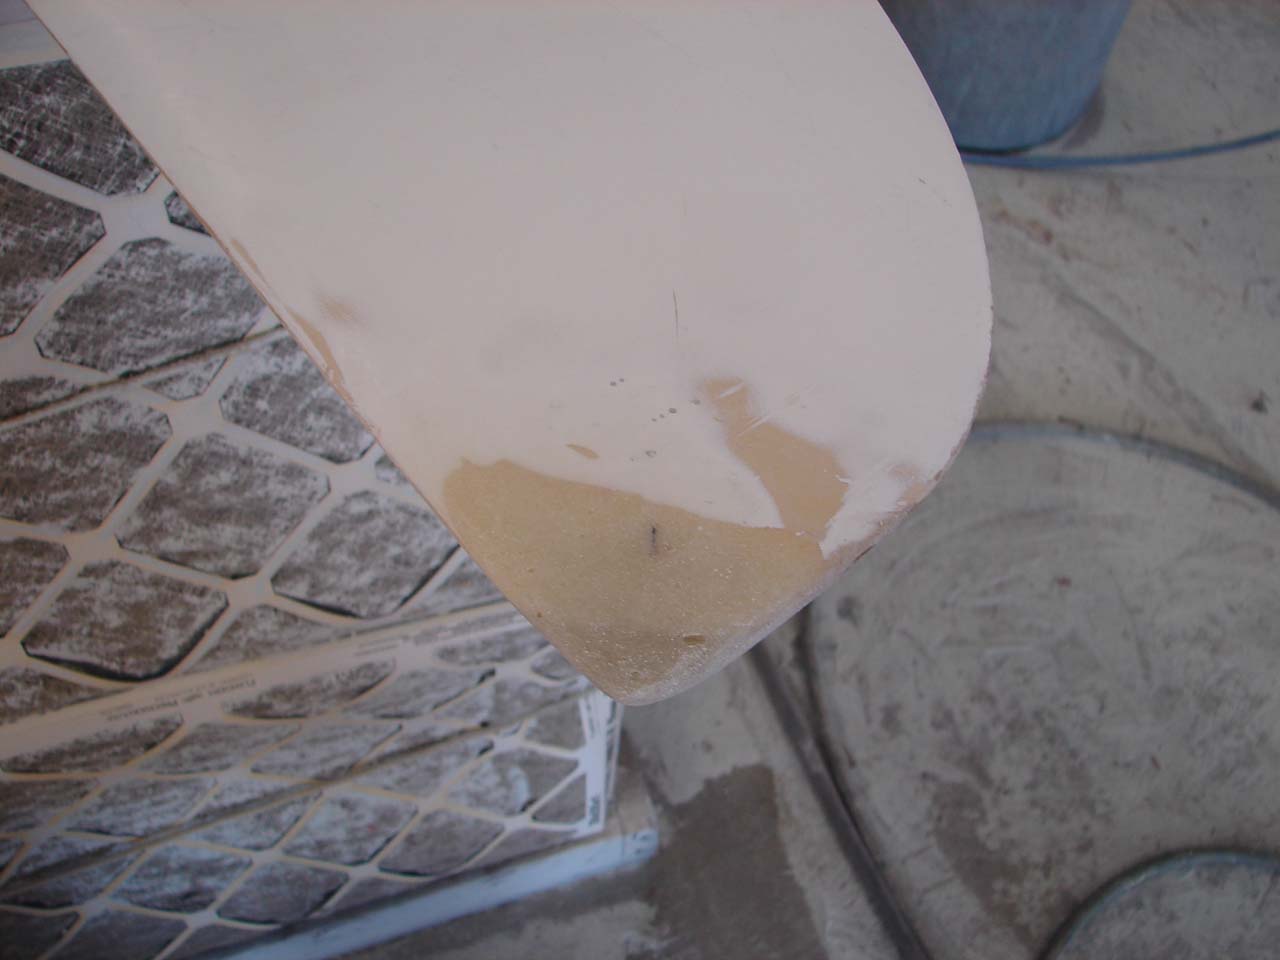
busted ctb tip |
|
|
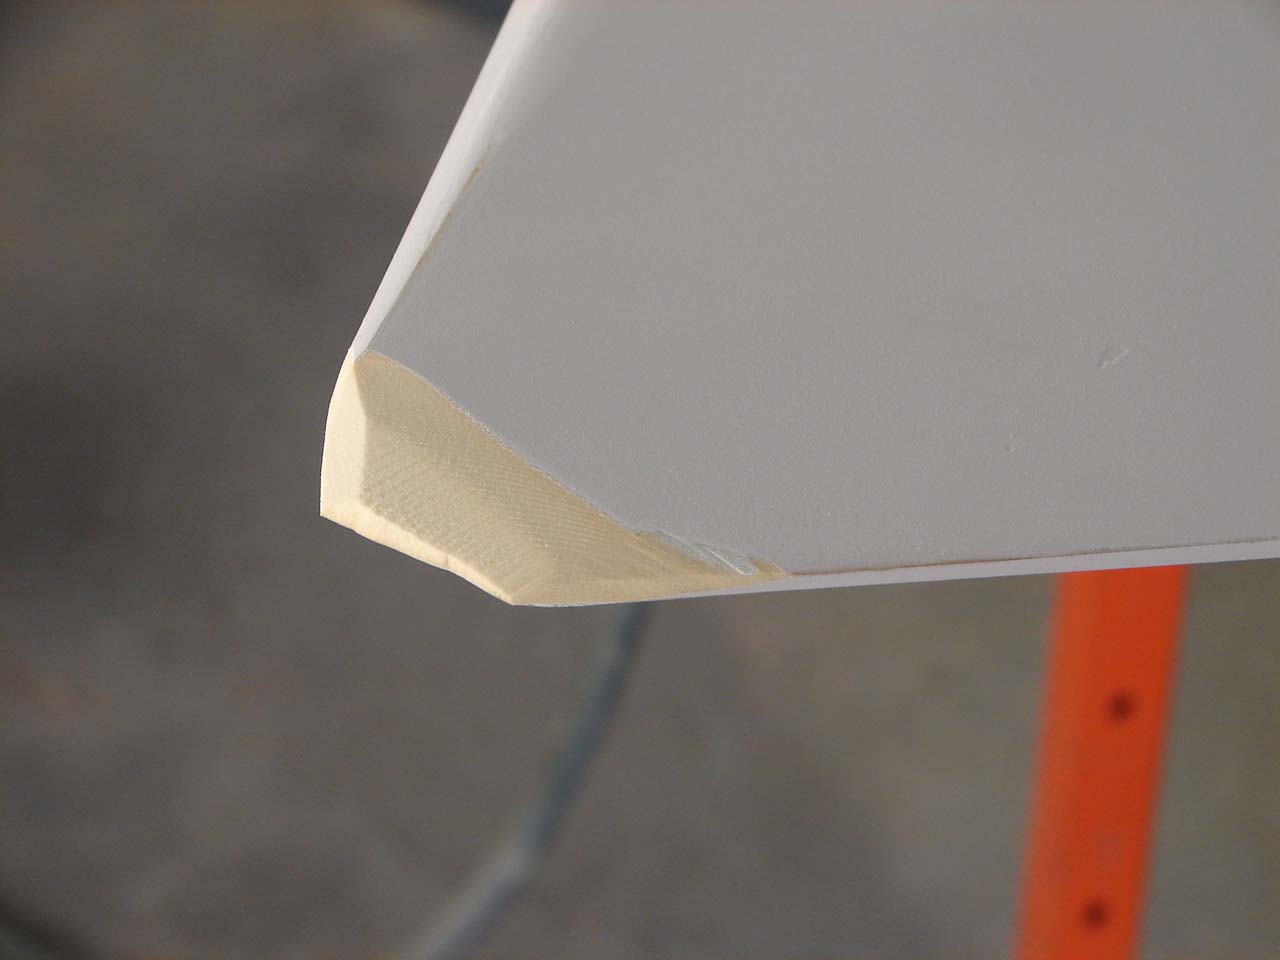
ground ctb tip I think this is the Laser CTB. The tip is ground with a 16 grit disc |
|
|
Wax paper, cardboard and clamp The key is to hold the cardboard and wax paper in the same plane as the other side of the board. It is a good idea to grind the wax paper residue off after the epoxy hardens....and before applying glass to the other side |
|
|
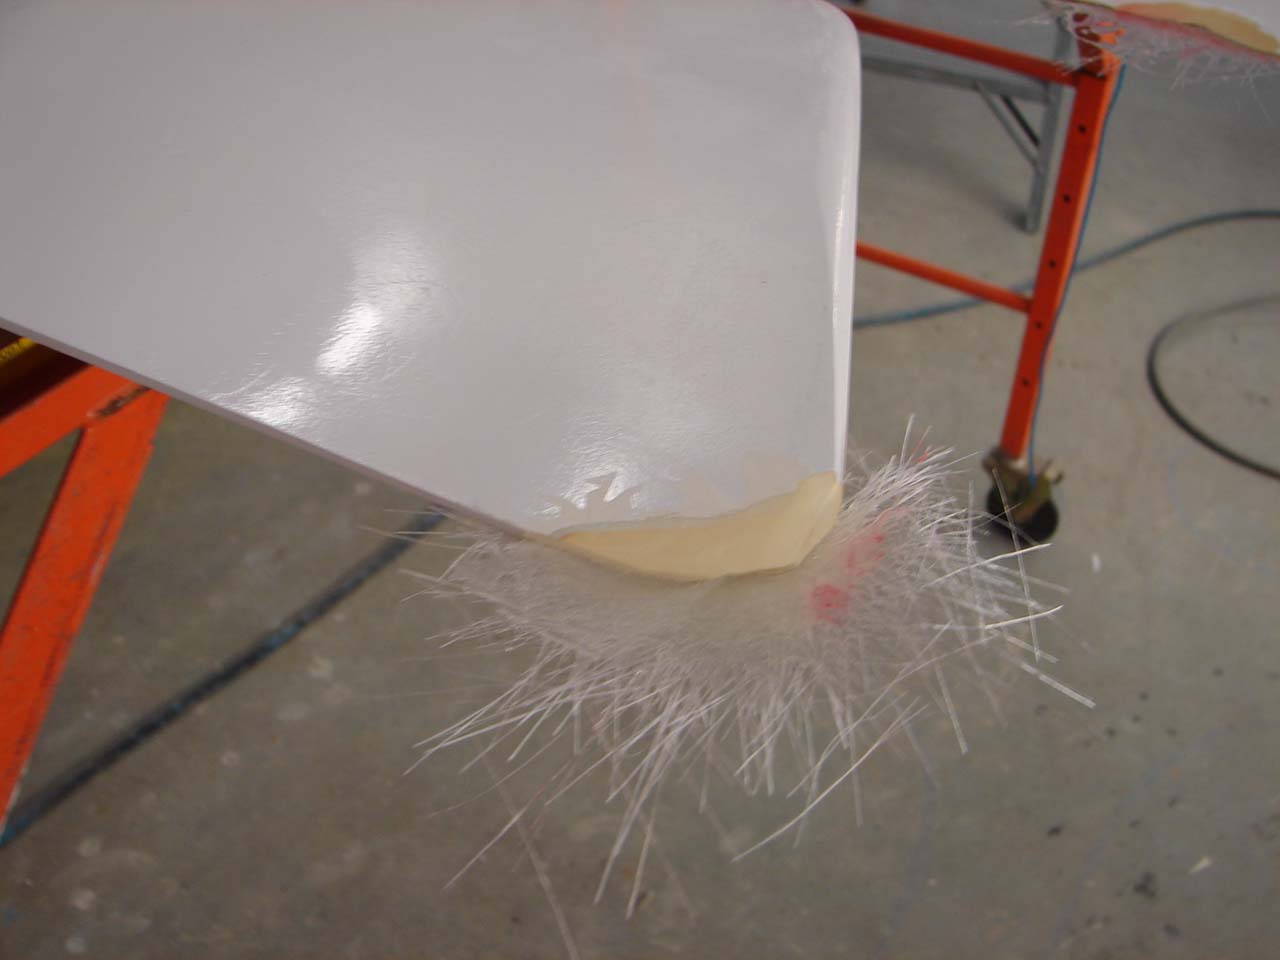
Glass and epoxy over "mold" When this epoxy repair dries I will flip the blade, grind it to make it rough and then make the same glass mess on the other side. Plan to drip and protect your floor. It is lots easier to spread newspaper than clean epoxy off your floor. |
|
|
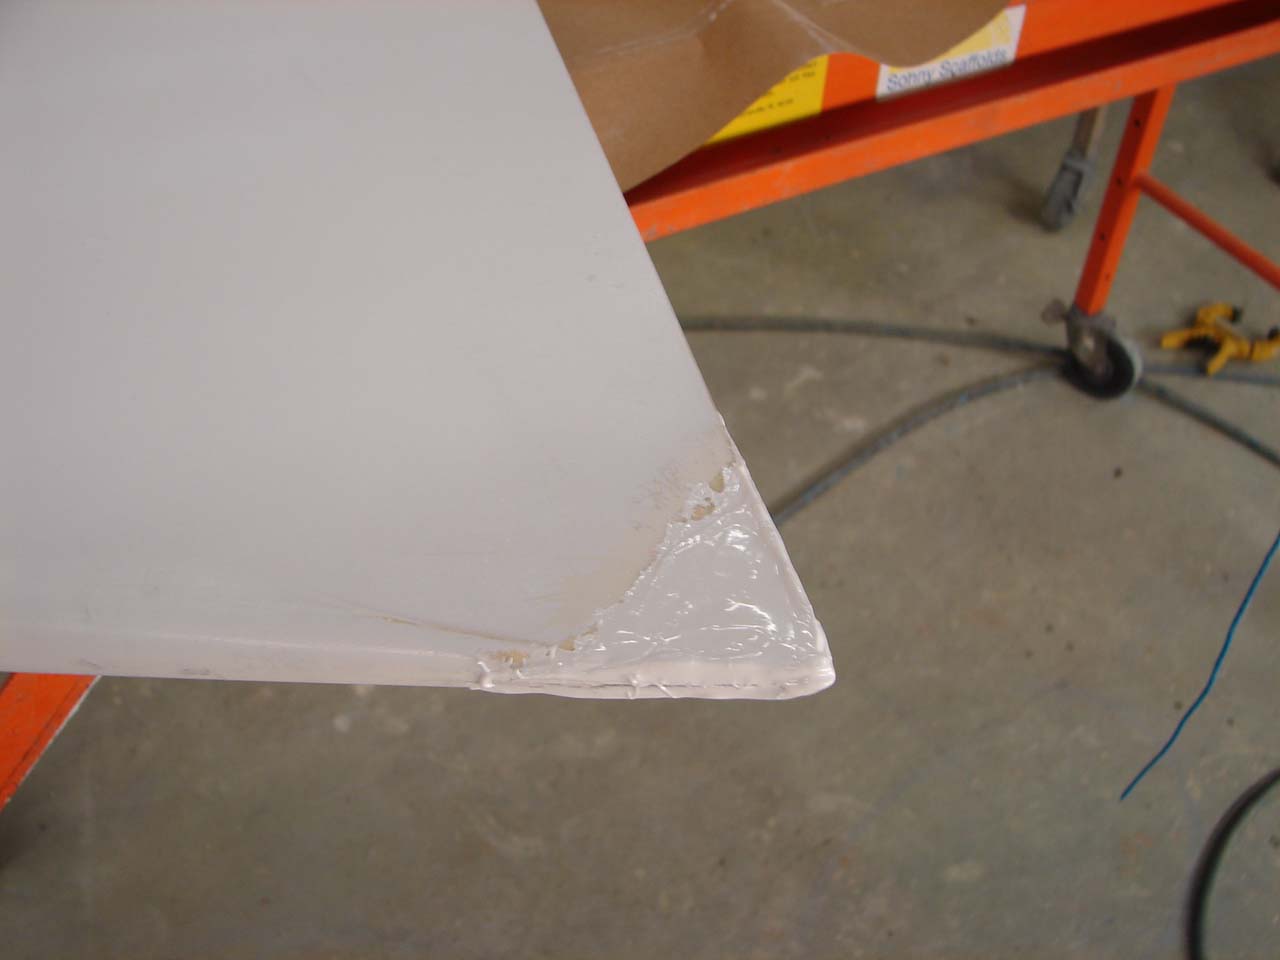
More glass and epoxy This is the glass on the second side |

|
|
Another glass view Notice how much extra is put on. It is easy to grind it away and it sets up better when it has some thickness to hold in the reaction heat. |
|
|
Marine Tex as fairing It is likely this entire repair could have been made with Marine Tex and been adequate. I think Marine Tex is stronger than the original blade itself. But...I like glass and used glass and West System to make the inside structure and the Marine Tex as the fairing compound. Note: polyester fairing will NOT adhere to West Epoxy. |
|
|
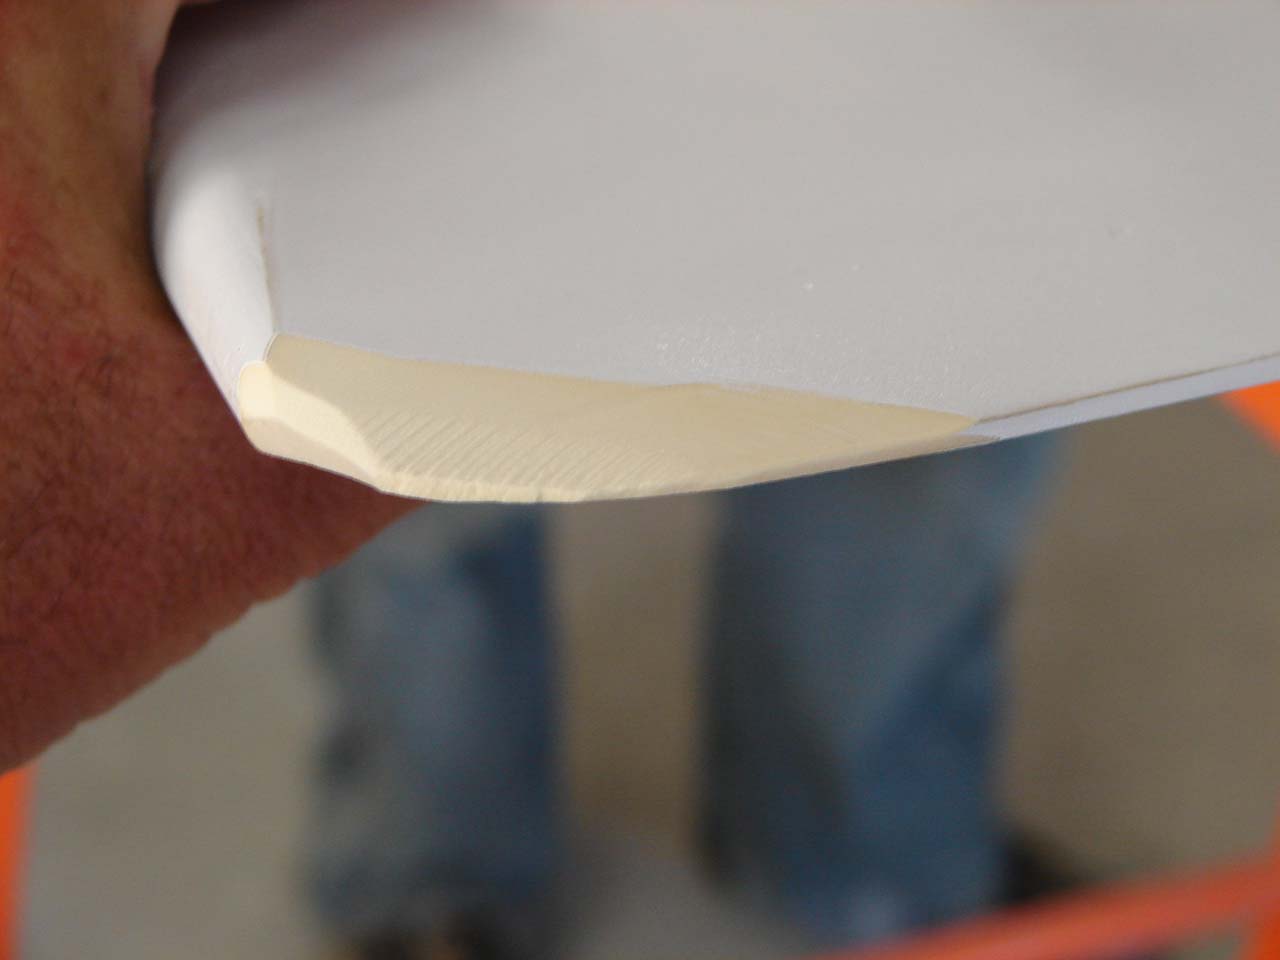
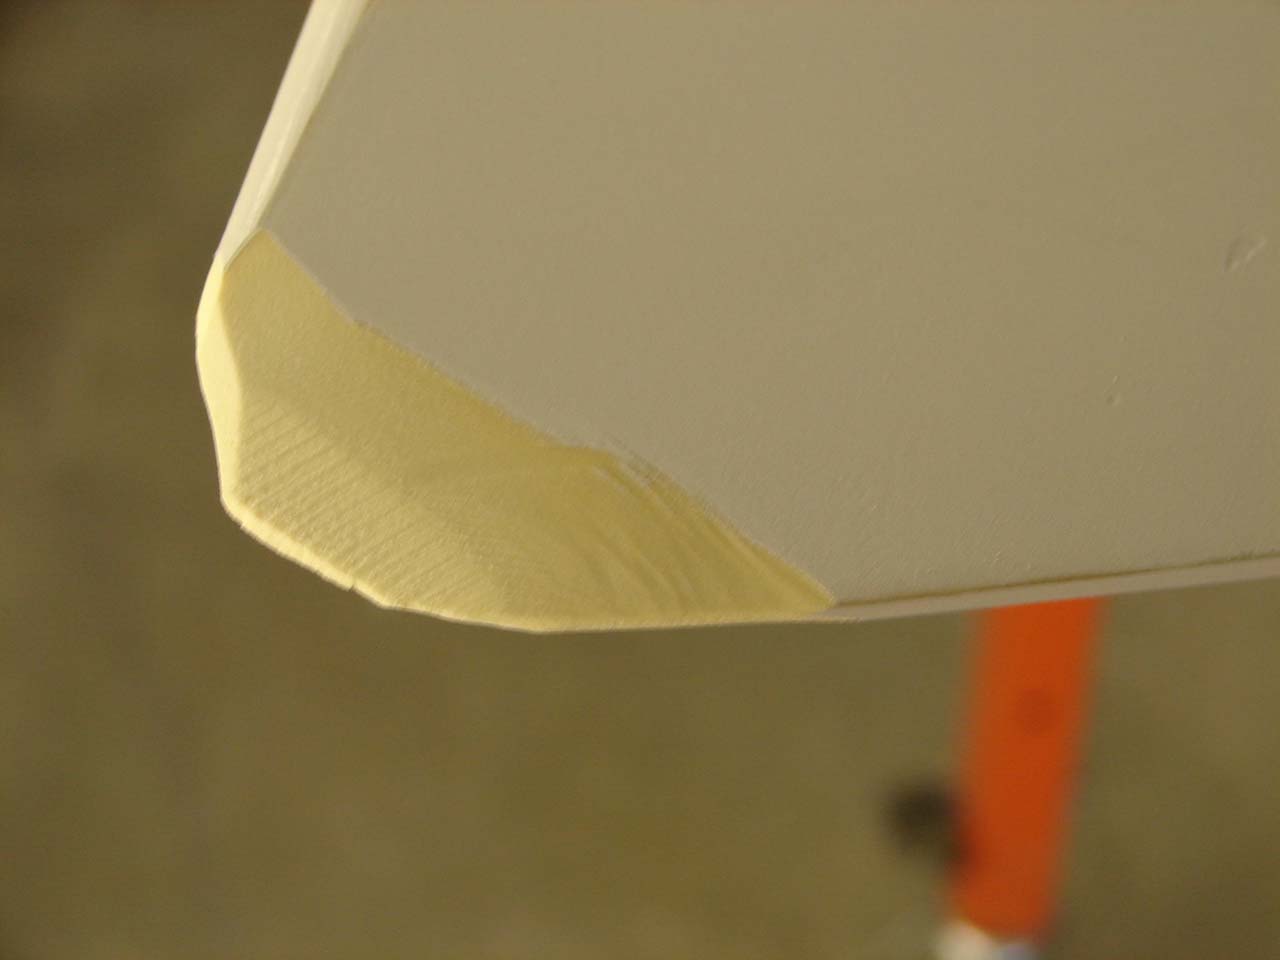
Slathered on Marine Tex It simply has to be thick enough to sand it down to the correct shape. I would rather slather it on way too thick than do the fairing twice. The key to thick application is special care to work out every tiny bubble. |

|
|
Nearly shaped Make it look like you think it should look and ...at least YOU will think it looks fine |

|
|
More shaping almost |
|
|
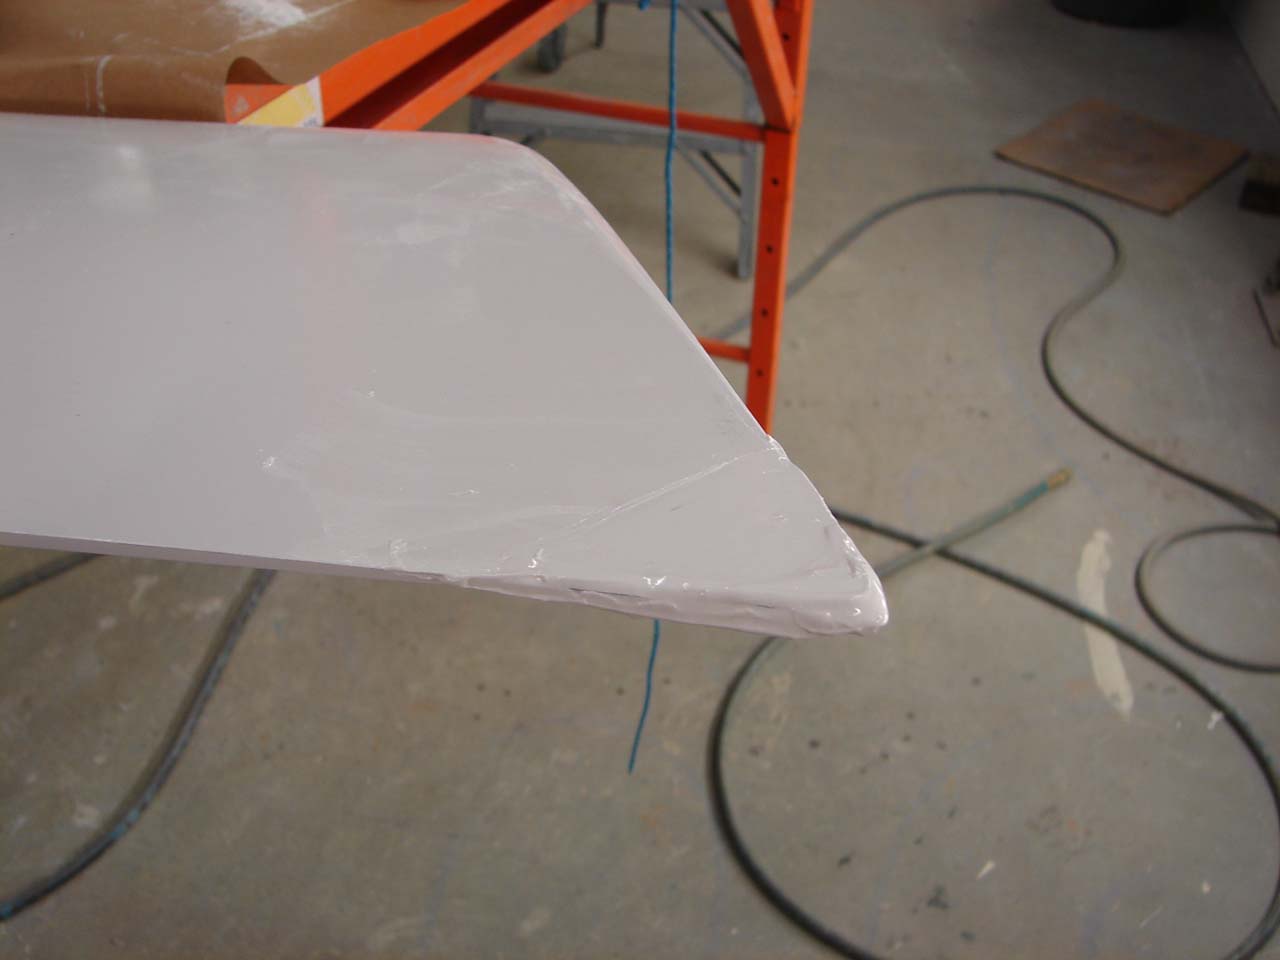
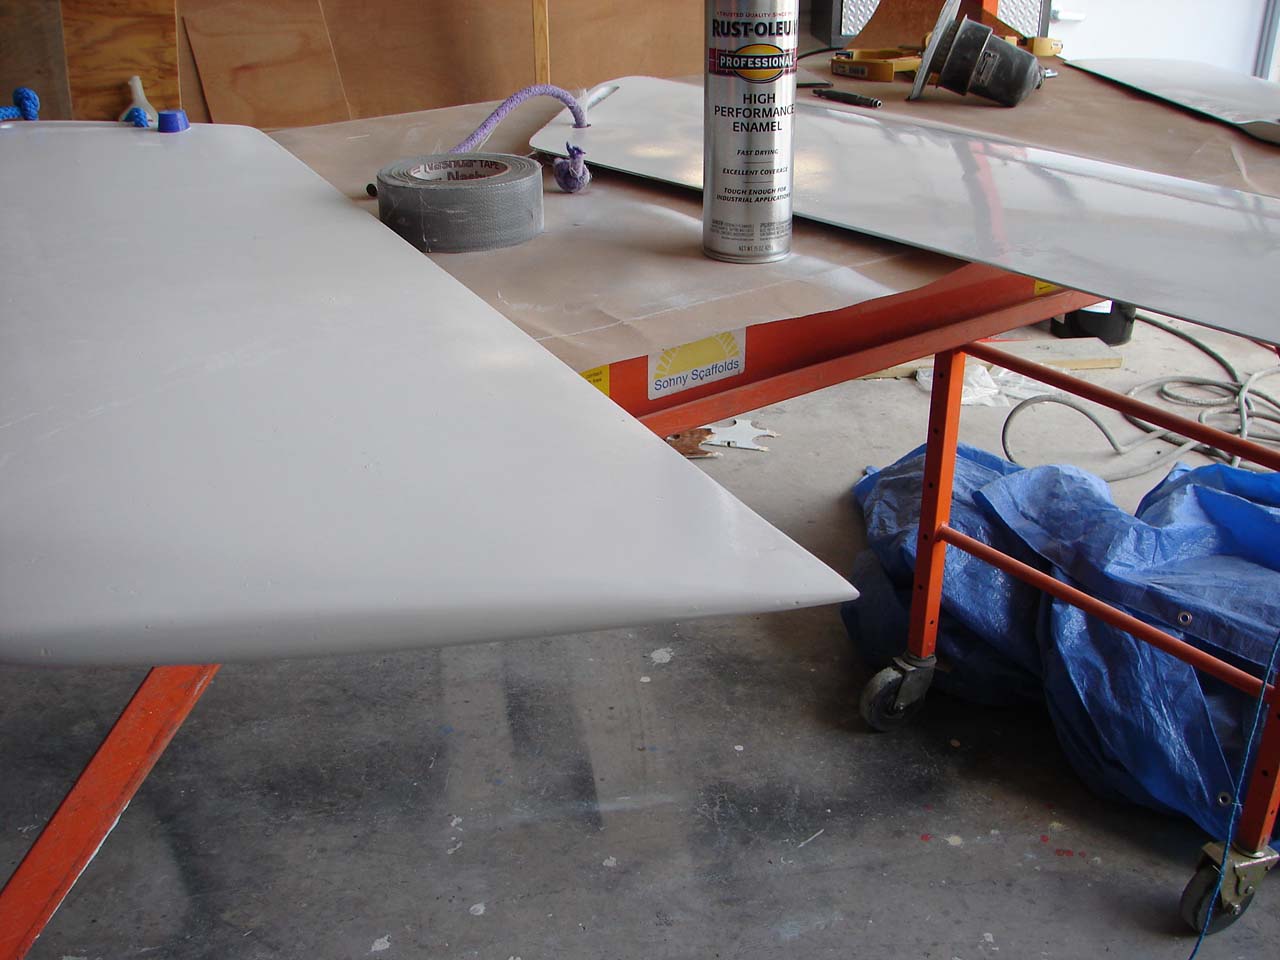
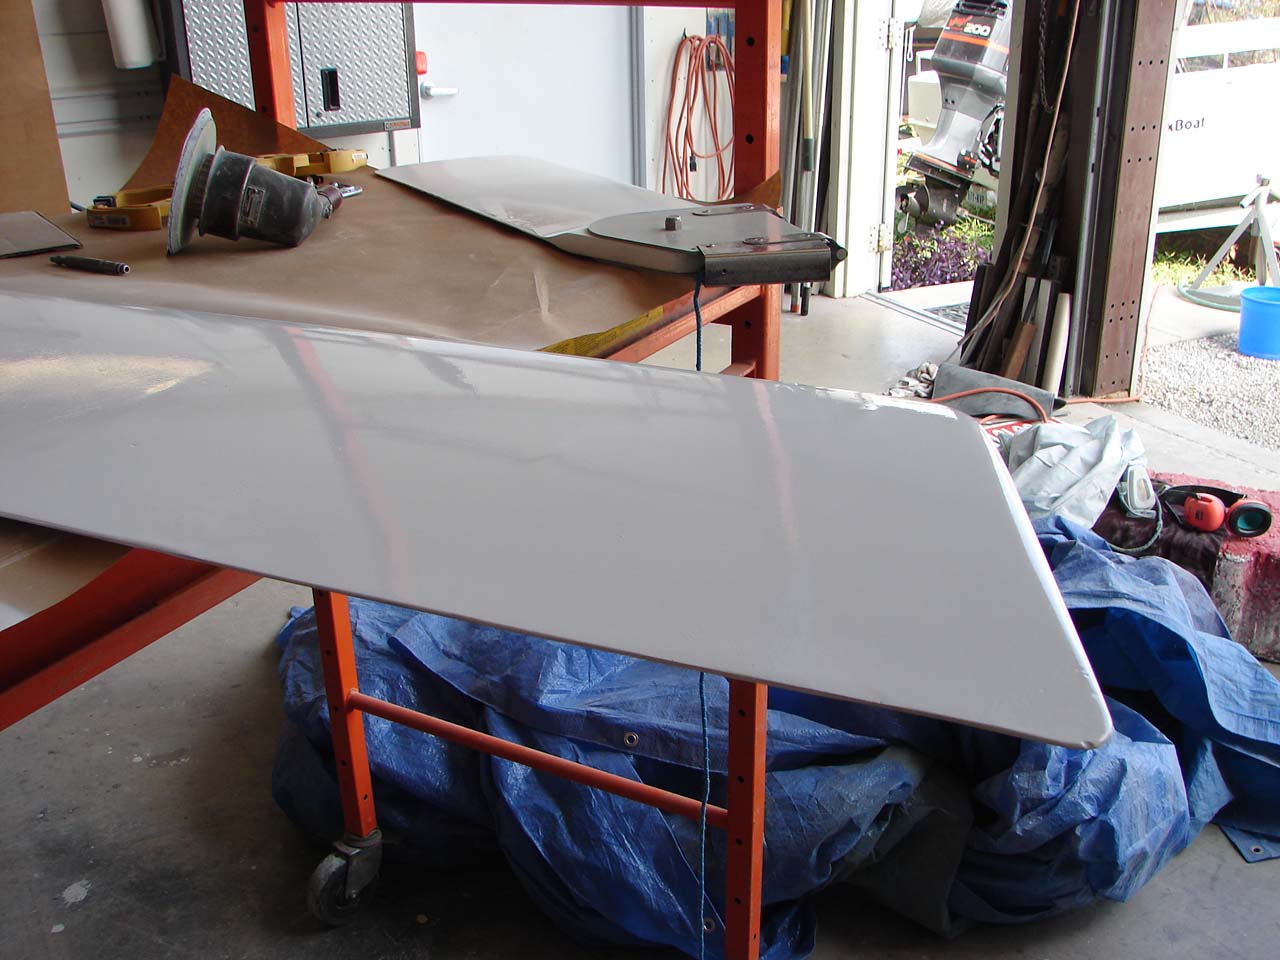
Painted You can see the spray can. The stuff is at least as good as the original coating the factory uses |
|
|
Sunfish or Laser One or the other ...It is ground for glass application |
|
|
Tip ground for application of glass repair I probably used a 16 grit disc. I like deep grooves for better adhesion. I think this is a Sunfish blade |
|
|
Sunfish blade shaped same process |

|
|
Same paint does it Sure, coating with VC Performance Epoxy is better but the material is expensive and the project is labor intensive |

|
|
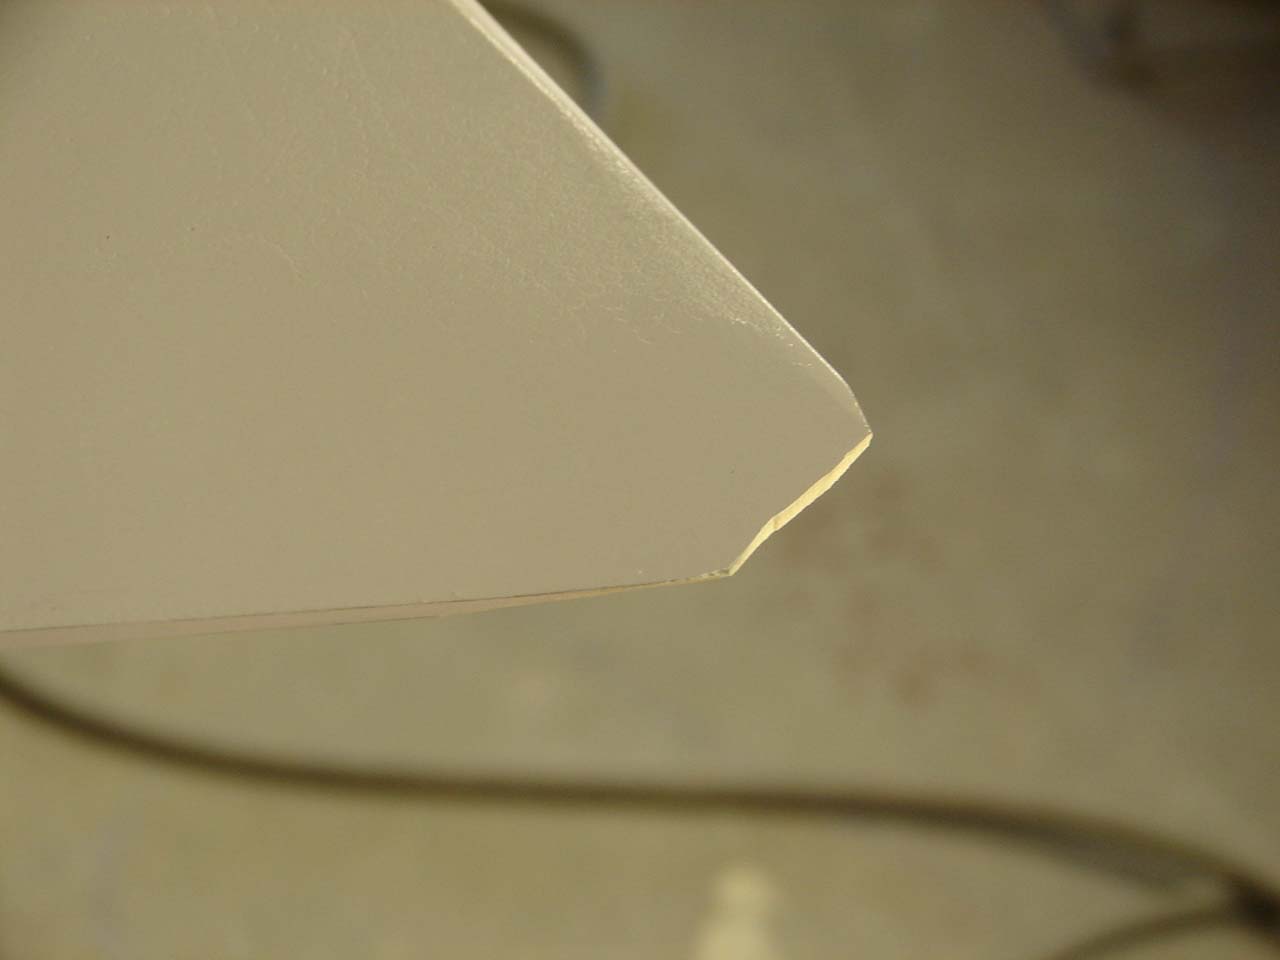
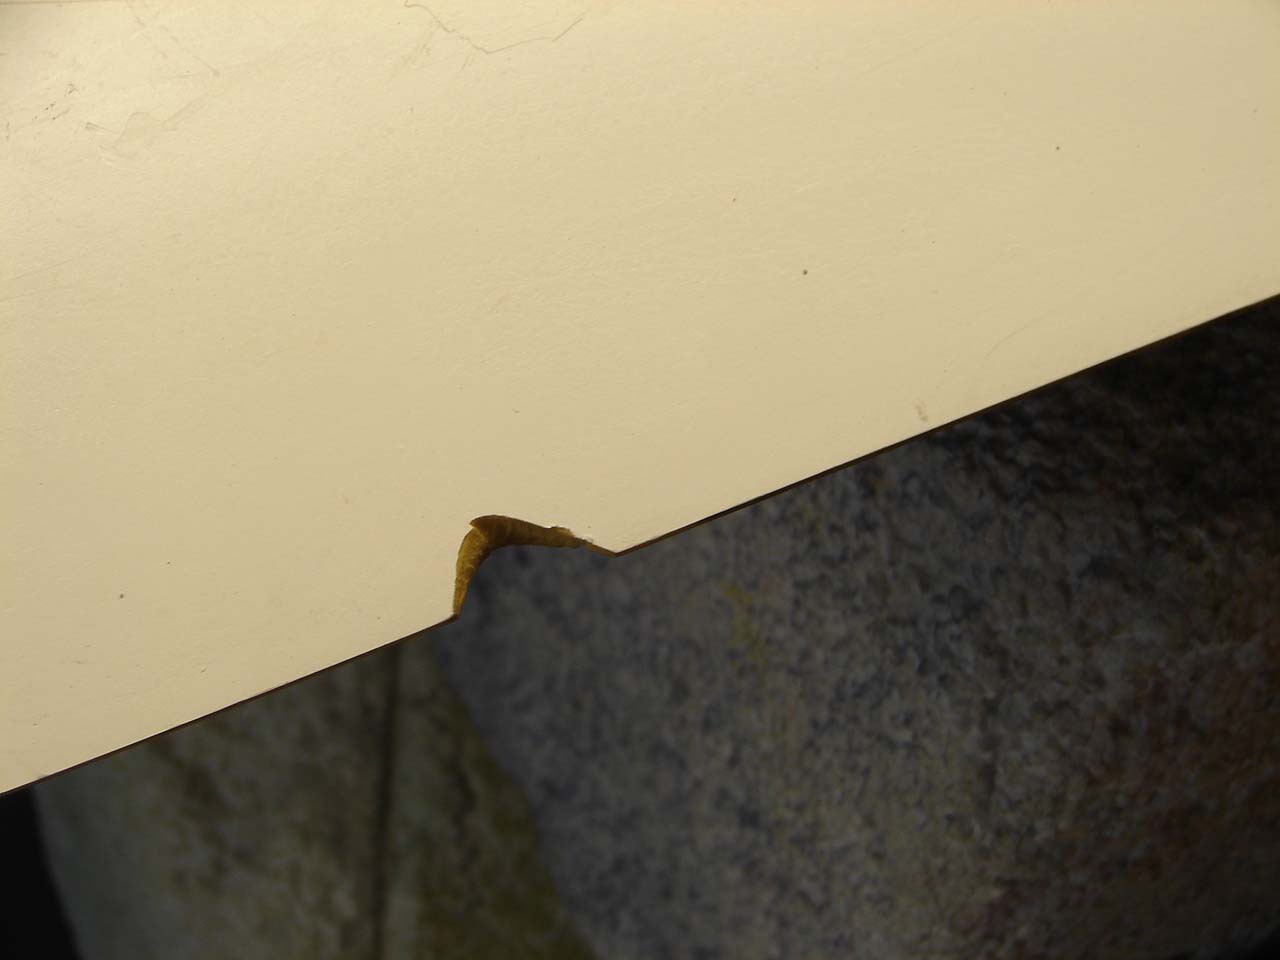
Chipped trailing edge |
|
|
Another chipped trailing edge |
|
|
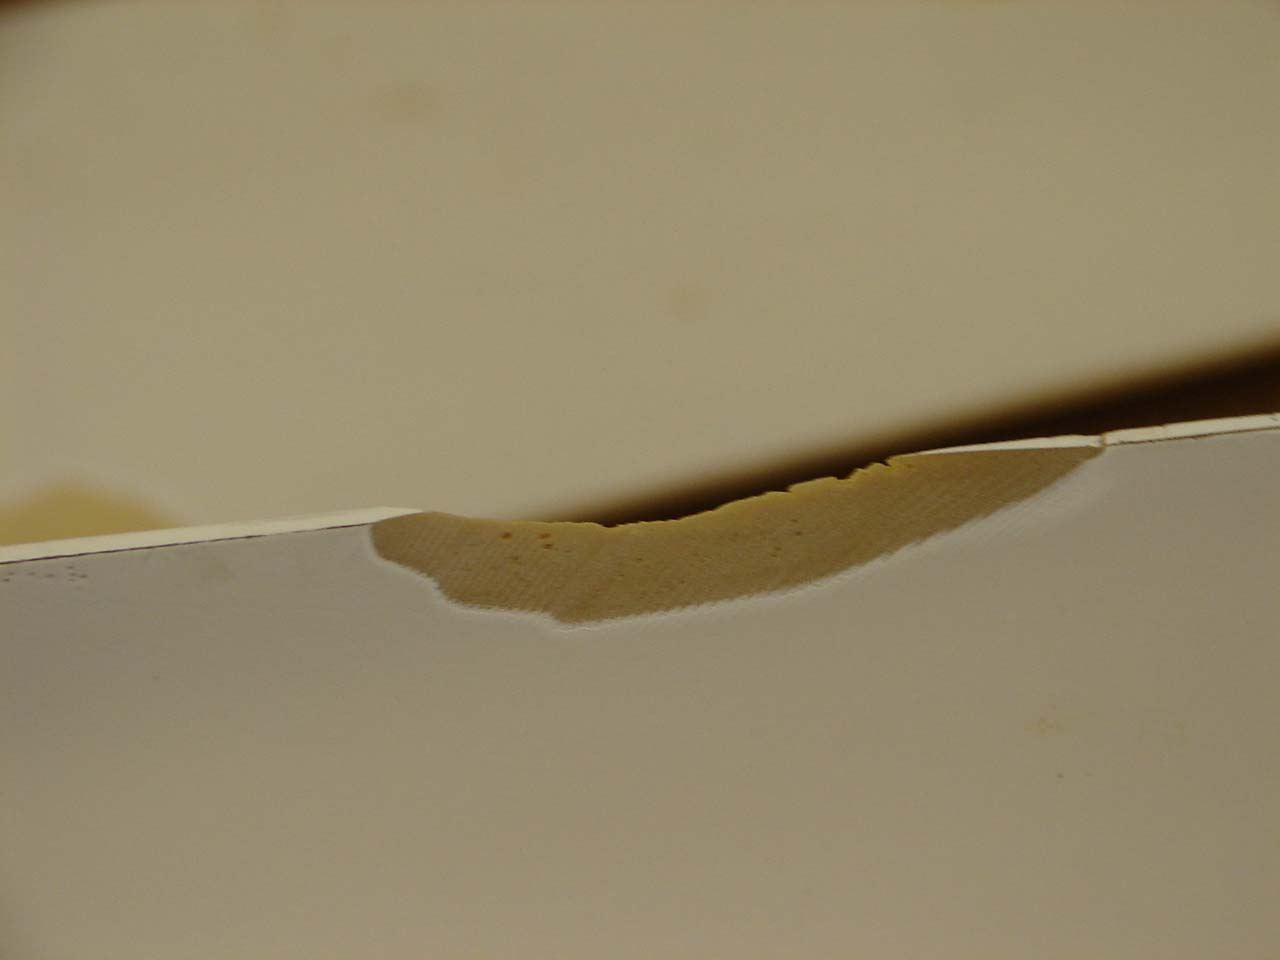
Ground trailing edge |
|
|
Another ground trailing edge |

|
|
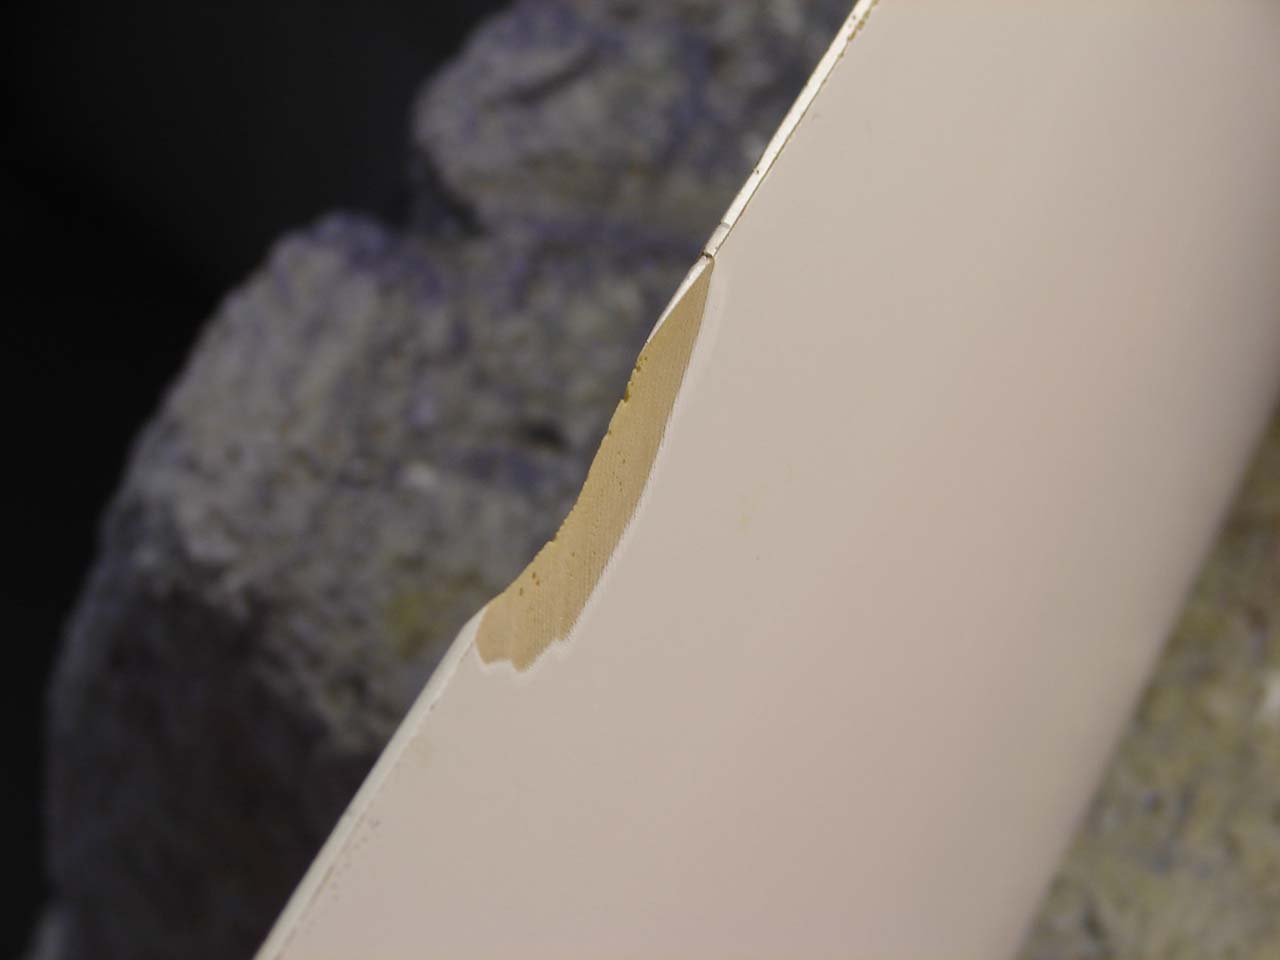
Another ground chip |
|
|
Another one |
|
|
One more |
|
|
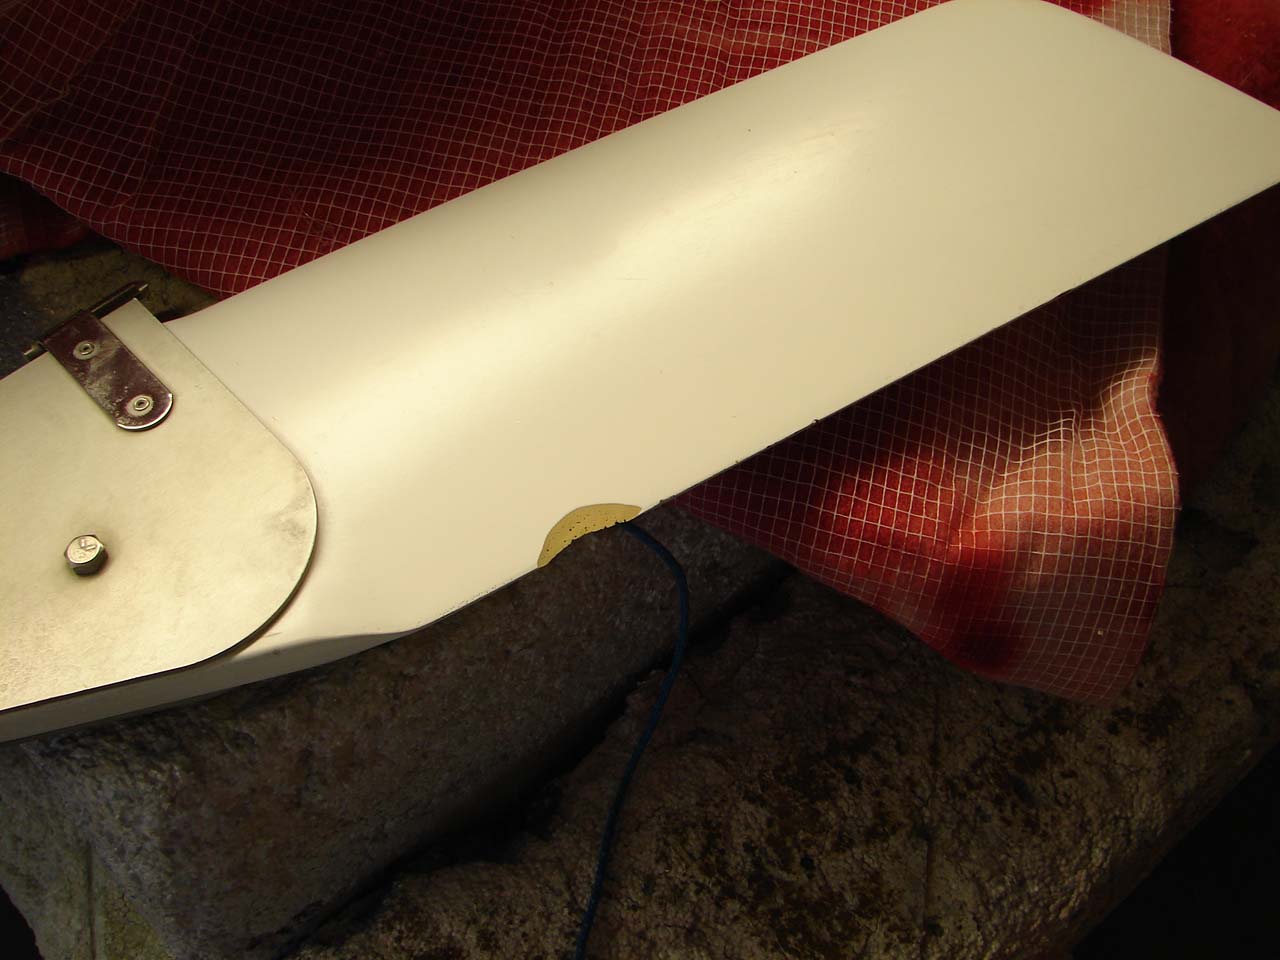
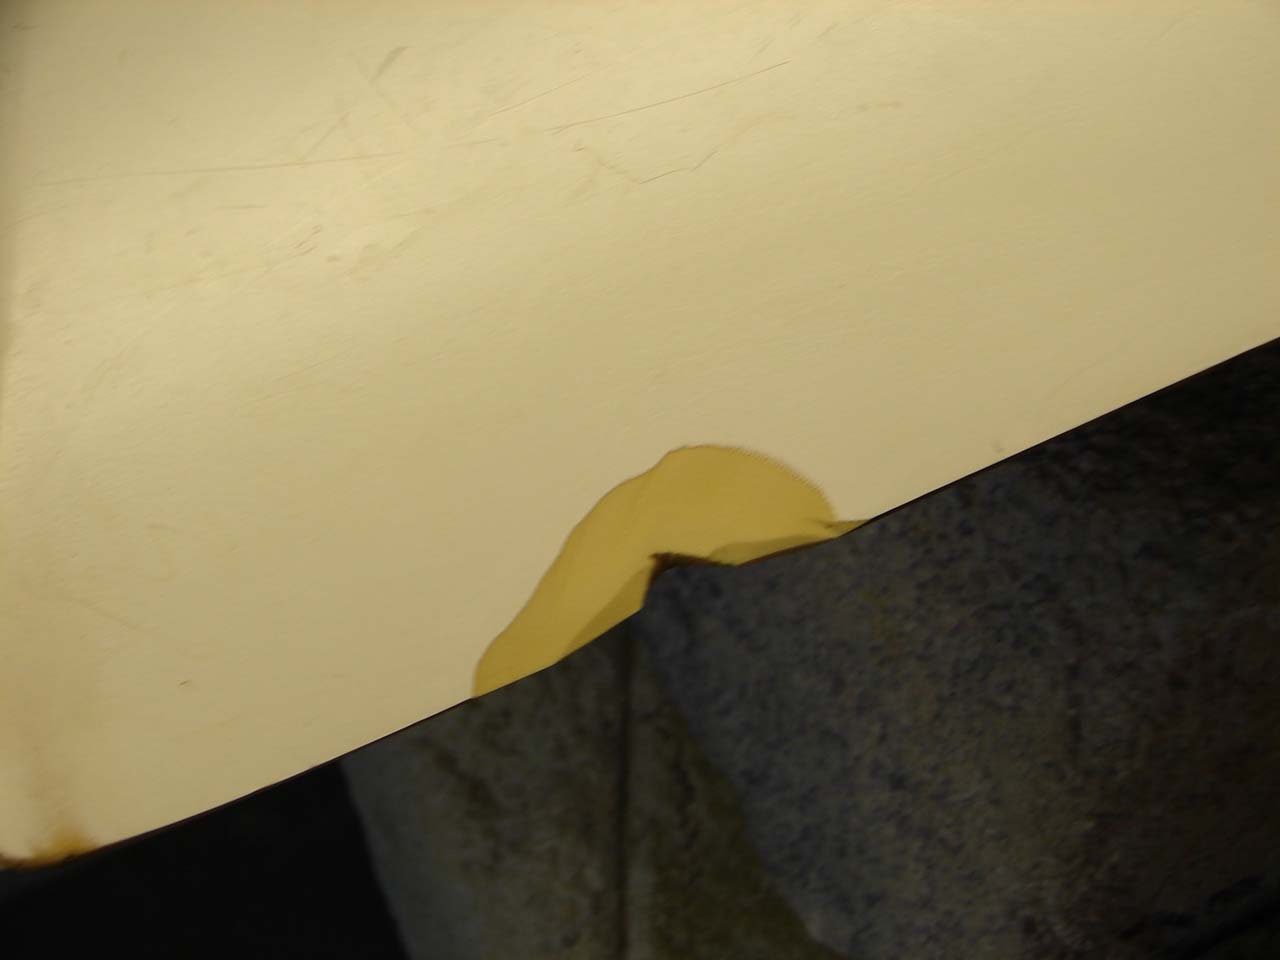
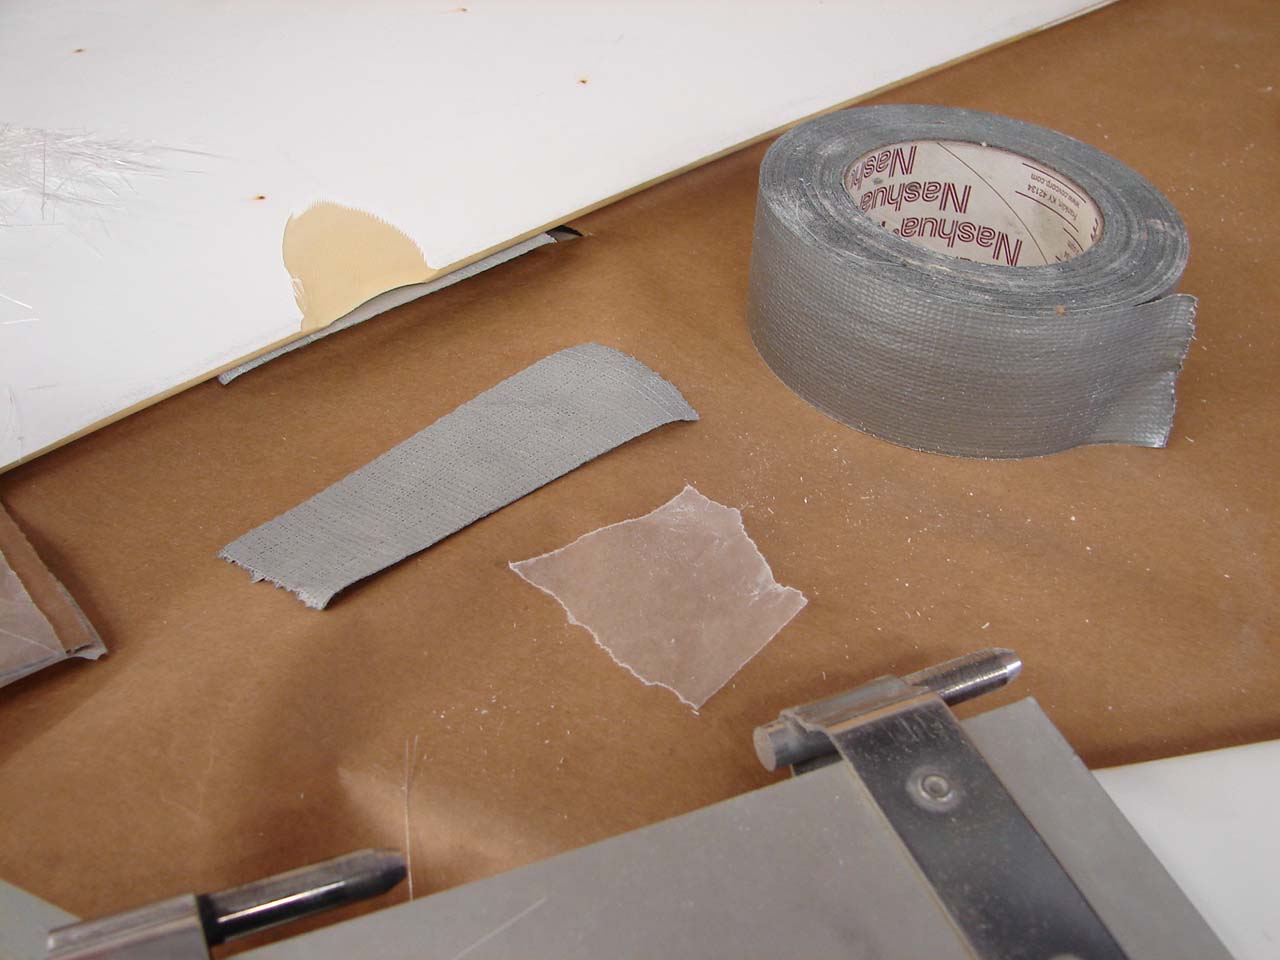
Tape, wax, paper and some already installed I already put tape and paper on the blade . The wax paper and tape is for another chip |
|
|
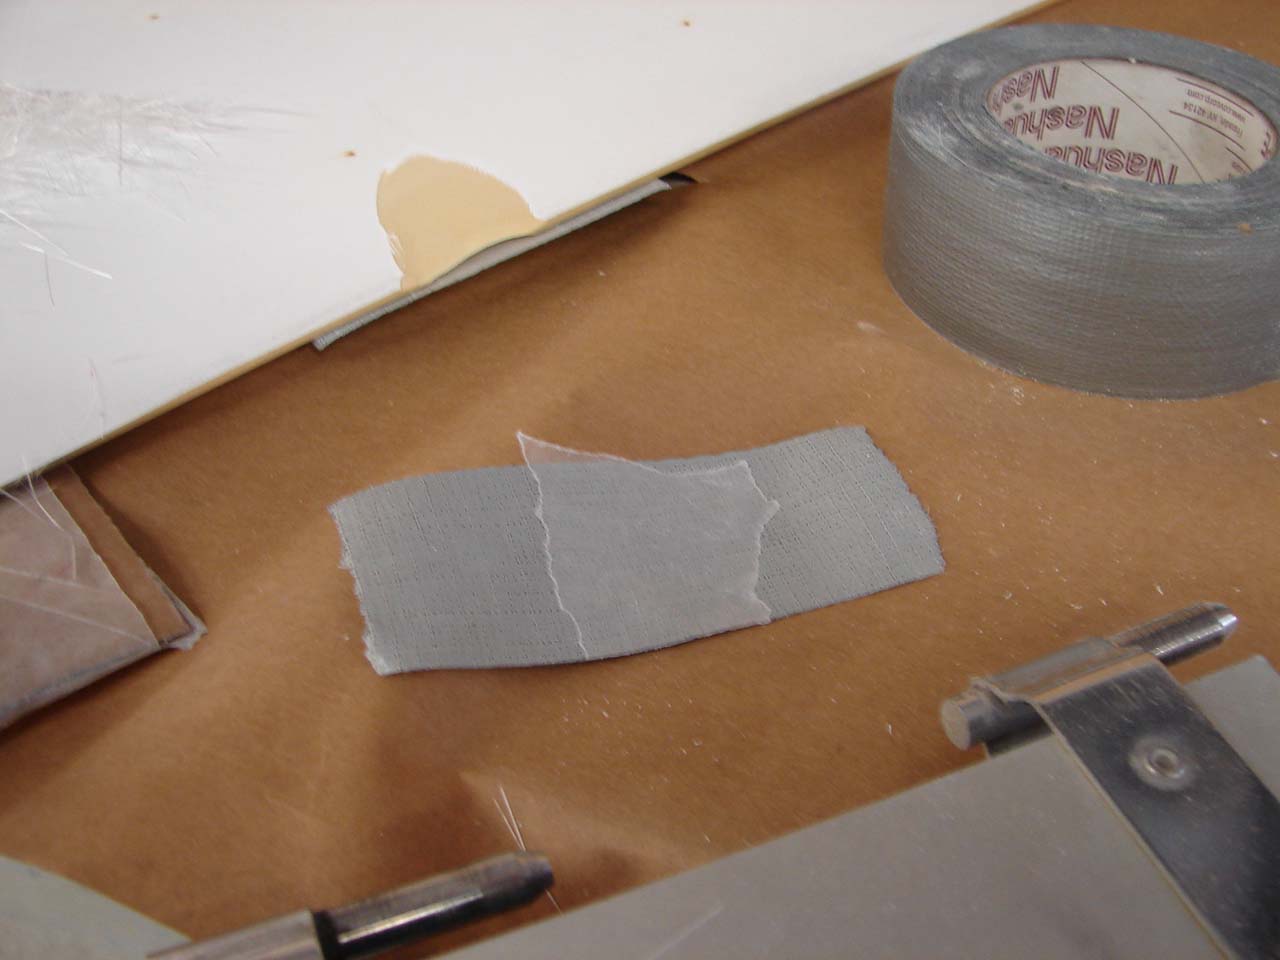
Tape with wax paper The key to this method is to stretch the tape across the gap...but not wrinkle the tape. If the tape can sag...it can't do its job. Beware of attempting large jobs with this system, if the glue warms up it drops the tape and ruins the job I usually use the cardboard system but I felt like showing alternative ways |

|
|
just another view OK I should have shown at least one shot from the taped side...but no such hindsight was available that day |
|
|
A little glass |
|
|
Glassed on bottom prepped on top |
|
|
Glassed on bottom again prepped on top |
|
|
Ready for second layer |

|
|
Trailing edge glassed over cardboard |
|
|
Second side glassed |
|
|
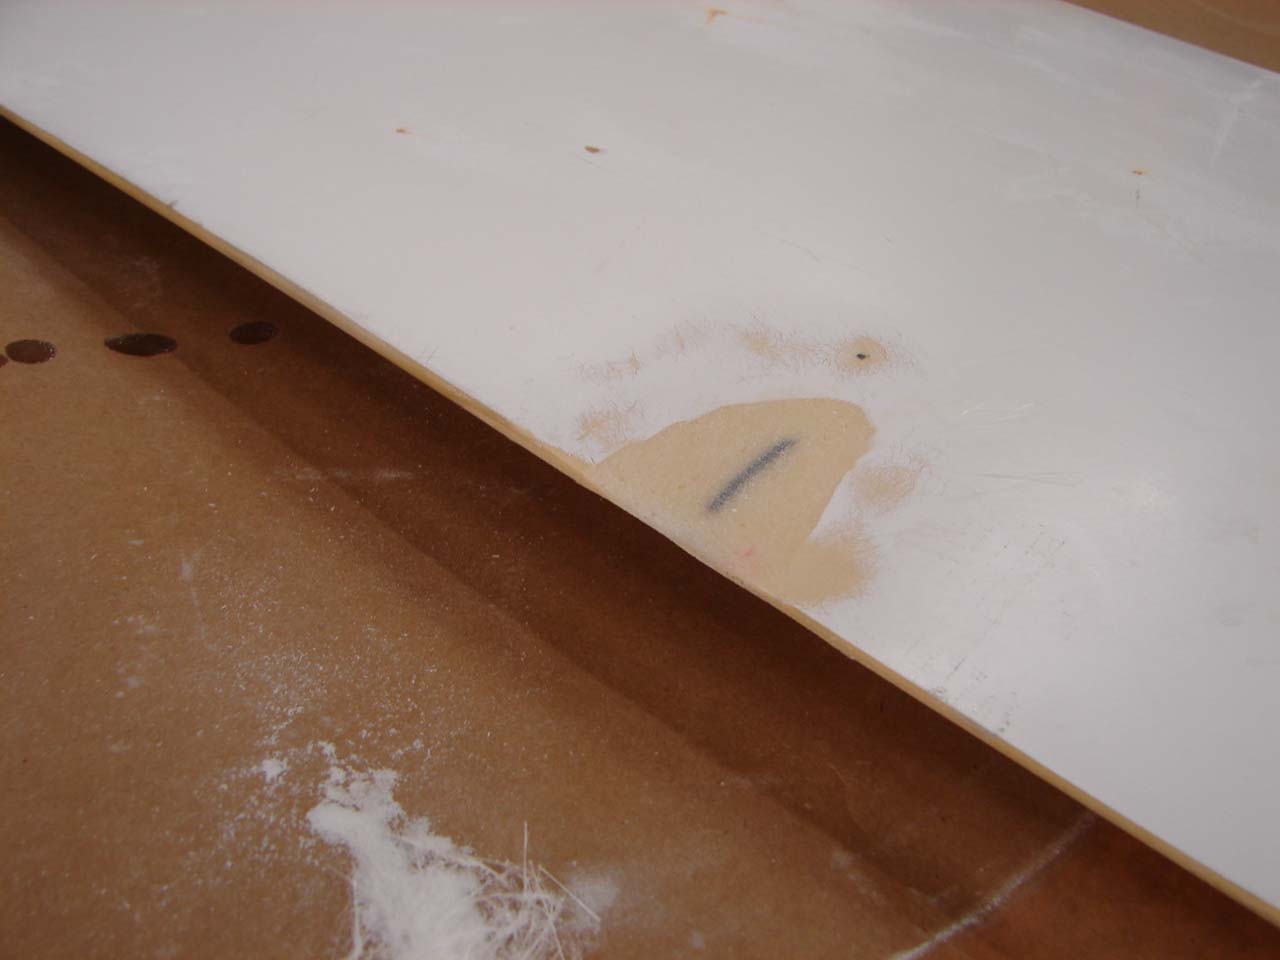
Sanded a bit If you are careful NOT to sand the paint off...you can do a better job of fairing the blade. Mine is always the same montra.... Press lightly and use new paper. |
|
|
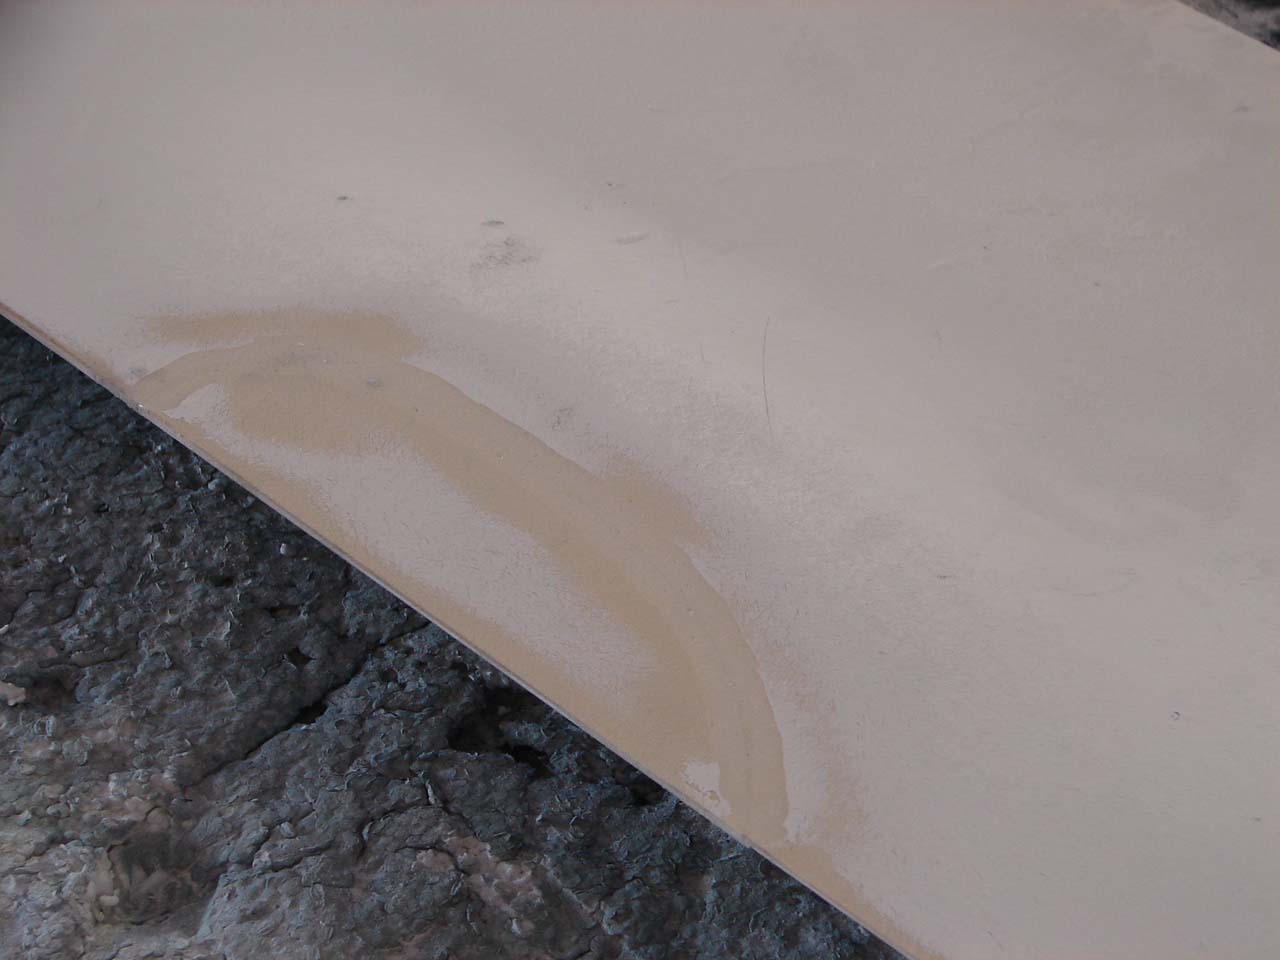
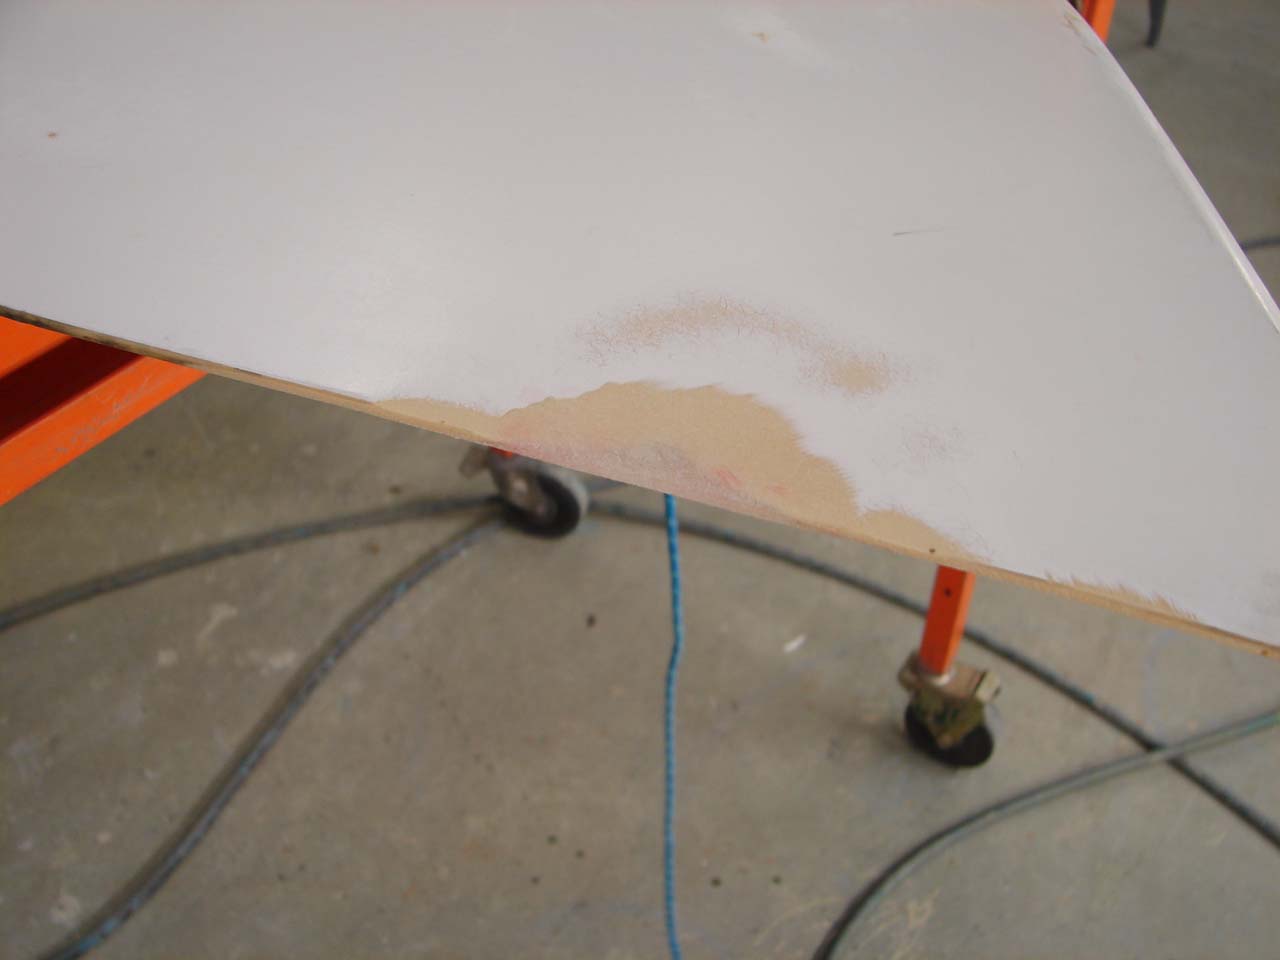
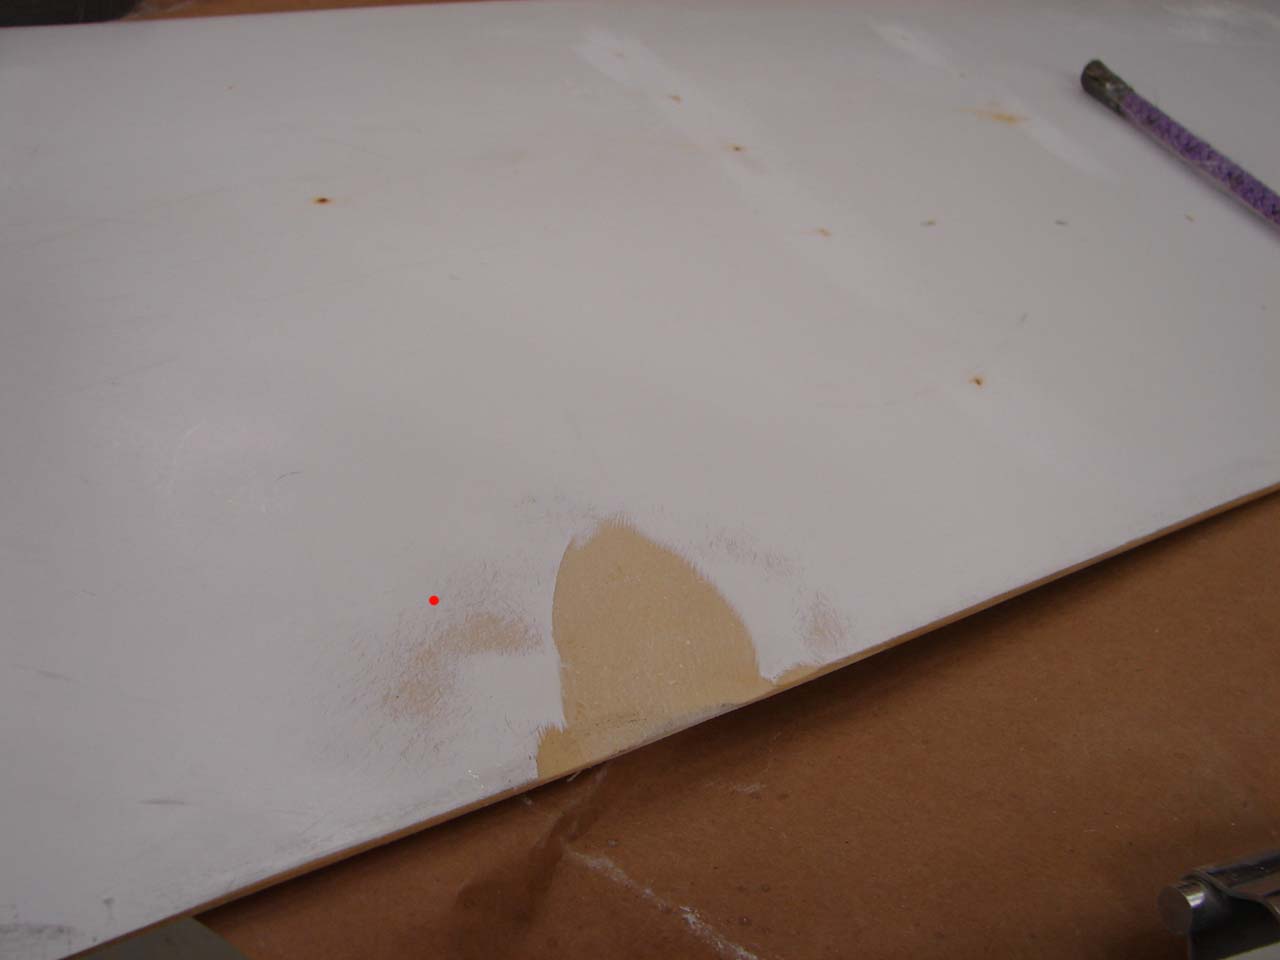
Partially sanded I screwed up a bit and sanded a halo through the white paint. That brown area just outside the repair is a low area on the blade and I will need to spray multiple layers of paint to sand and repaint and sand to fix my screw up. There go a few more hours and maybe another week before the blade is right again. |
|
|
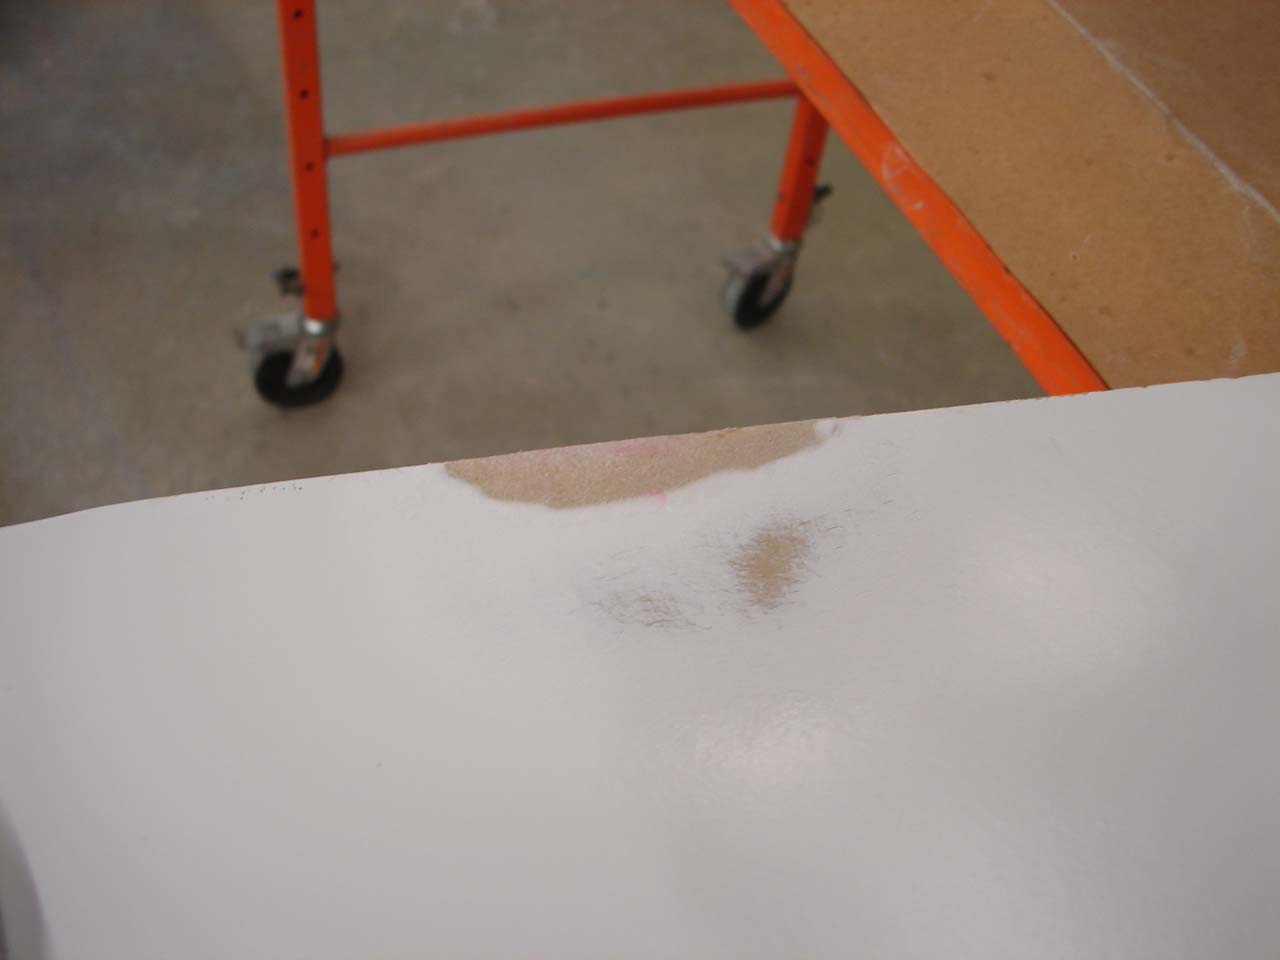
Another trailing edge chip repair This board has a gray primer as somebody once refinished it...it is probably Interlux 2000 epoxy with VC Performance Epoxy over it. Anyway, the gray area is a low spot and will be a pain in the butt to fair. |

|
|
Faired repair |
|
|
Another faired repair |
|
|
Squirted paint on trailing edge chip This is not the blade with the broken tip. In fact, the tip is chipped and could use a repair...but I was doing a bunch of major work for buddies ..This blade showed up with a missing chunk above the tip.. it was fixed for free... .no whining was allowed. |